PComp Final

In my last blog post regarding this project, I talked about the progress we’d made. We had fabricated a button into a baseball helmet, revamped the sketch so that it would run properly and built a home plate, which looked a little something like this:
At this time in our process, Grant and Katie and I had a sketch that – unbeknownst to us at the time – was about 85% done, a batting helmet that had functionality, and a hollowed out bat. Here’s what remained: coding the FSR’s, putting the vibrating motor sensor into the bat, mounting the Arduino 101 into the bat, making our code more specific and, most importantly, making sure that the bat, helmet and home plate worked in tandem with one another. We knew that in order to reach our goal of being done by Monday night – we wanted to give ourselves at least 24 hours of extra time – we had to start delegating certain tasks. Luckily for Grant and I, Katie is truly a master fabricator; she is the assistant technical director for the Tisch Grad acting program. It was decided that Grant and Katie would start to get more specific with the hardware while I would focus on the code. We would meet up this past Saturday and spend the weekend making sure everything worked together.
I knew that before I could start worrying about how to incorporate all three of the elements of the project together, they had to be working seamlessly individually. The helmet already done with, I focused first on the FSR’s. I wasn’t too concerned about the code on the Arduino side, I was more worried about making each FSR individually trigger something. Essentially, the FSR was going to need to act as a button; once it was pressed something would happen. But because the “button” needed to be on home plate and therefore needed to be stepped on, I figured it would be easiest and most in line with our ‘try-to-make-the-tech-hard-to-see’ aesthetic to stick with the FSR’s. I created some code in p5 from scratch to see if it would work and after tinkering for a few hours, each button triggered a different part of the sketch. Now onto the bat.
Building a home for the 101
Paneling for the Batters Box
Precision, precision, precision. The biggest issue that I faced in my midterm is that there was way too much delay with the bat. You would swing and would have to wait a second before the bat would swing with you. If I was going to try to simulate getting a hit from a professional baseball player, timing would be of the utmost importance. After making sure my ‘handshaking’ was working and removing every console log from the code, I feel there has been a vast improvement in the precision of the bat. However, the issue now lay with a different element of the bat: the vibrating motor.
Making an enclosure for the helmet
Threading vibrating motor through the bat
It was very important to me to make the user feel as if they really got a hit when playing this game. At first I thought I was going to need to use a haptic motor controller to set up different kinds of hits but resident Joe Mango showed me a much easier way: bypass the haptic motor controller and set a regular vibrating motor to a PWM pin. Switch back and forth between having it “high” and having it “low”. I was concerned that “high” wouldn’t be felt throughout the plastic bat but fortunately, the motor produced the perfect amount of vibration. My biggest issue now was how to let the arduino code know when something had been triggered in the p5 code. This lab proved to be instrumental in this working. There are still some issues with this vibrating motor that I will get to later.
Now that all three instruments were working separate from one another, it was time to try to make them work in unison. Daniel Shiffman informed us that in order to maximize efficiency, we would now need to consolidate our three huge pieces of code – we had a code for each mode and were triggering them in the html. While Grant focused on this, I tried to dig into how I was going to make the three elements work together. Turns out you cannot open multiple serial ports in the p5 editor. This was a very alarming shock. Here we were about a week away from everything being due and it just may not work. An hour and a half worth of office hours with Shawn Van Every – whom I cannot thank enough for all of his patience with me – all elements were running pretty well with one another.
Now on to fabrication. 
I let Katie know that the vibrating motor needed to be in the lower shaft of the bat and the arduino needed to be at the top. She put an enclosure in the bottom of the bat to isolate the motor, insulated it with foam to prevent additional movement, and cut the bat in half. This way I could have easy access to the motor should it cease to work. With the other half, she made a circular piece of wood to stabilize the center, ran the wire from the motor through that and up to the top where she made a piece of wood to screw to the arduino. Did I tell you she was a genius? She then spray painted the bat to make it look more realistic and less plastic. I think she succeeded.
Onto the home plate. We decided on three colors, Grant fixed the home screen to adjust them while Katie and I spray painted them. Katie added wood paneling to the sides also to give it more of a sheen. She then turned it around and made an enclosure for the Arduino and breadboard that was operating the FSR’s which featured a long wooden piece to prevent the board from moving around at all. With all of the fabrication now done, we decided to spend our additional time on Saturday utilizing the free theater Katie had in the Grad building to film the commercial/instructional video that you saw at the top of the page.
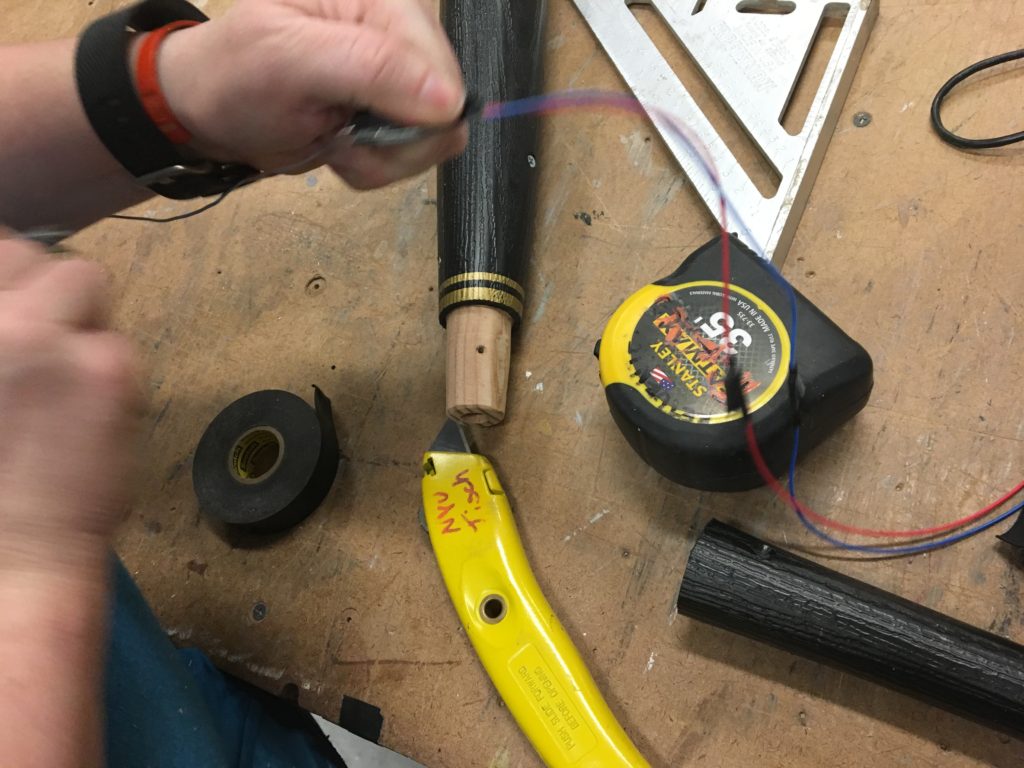
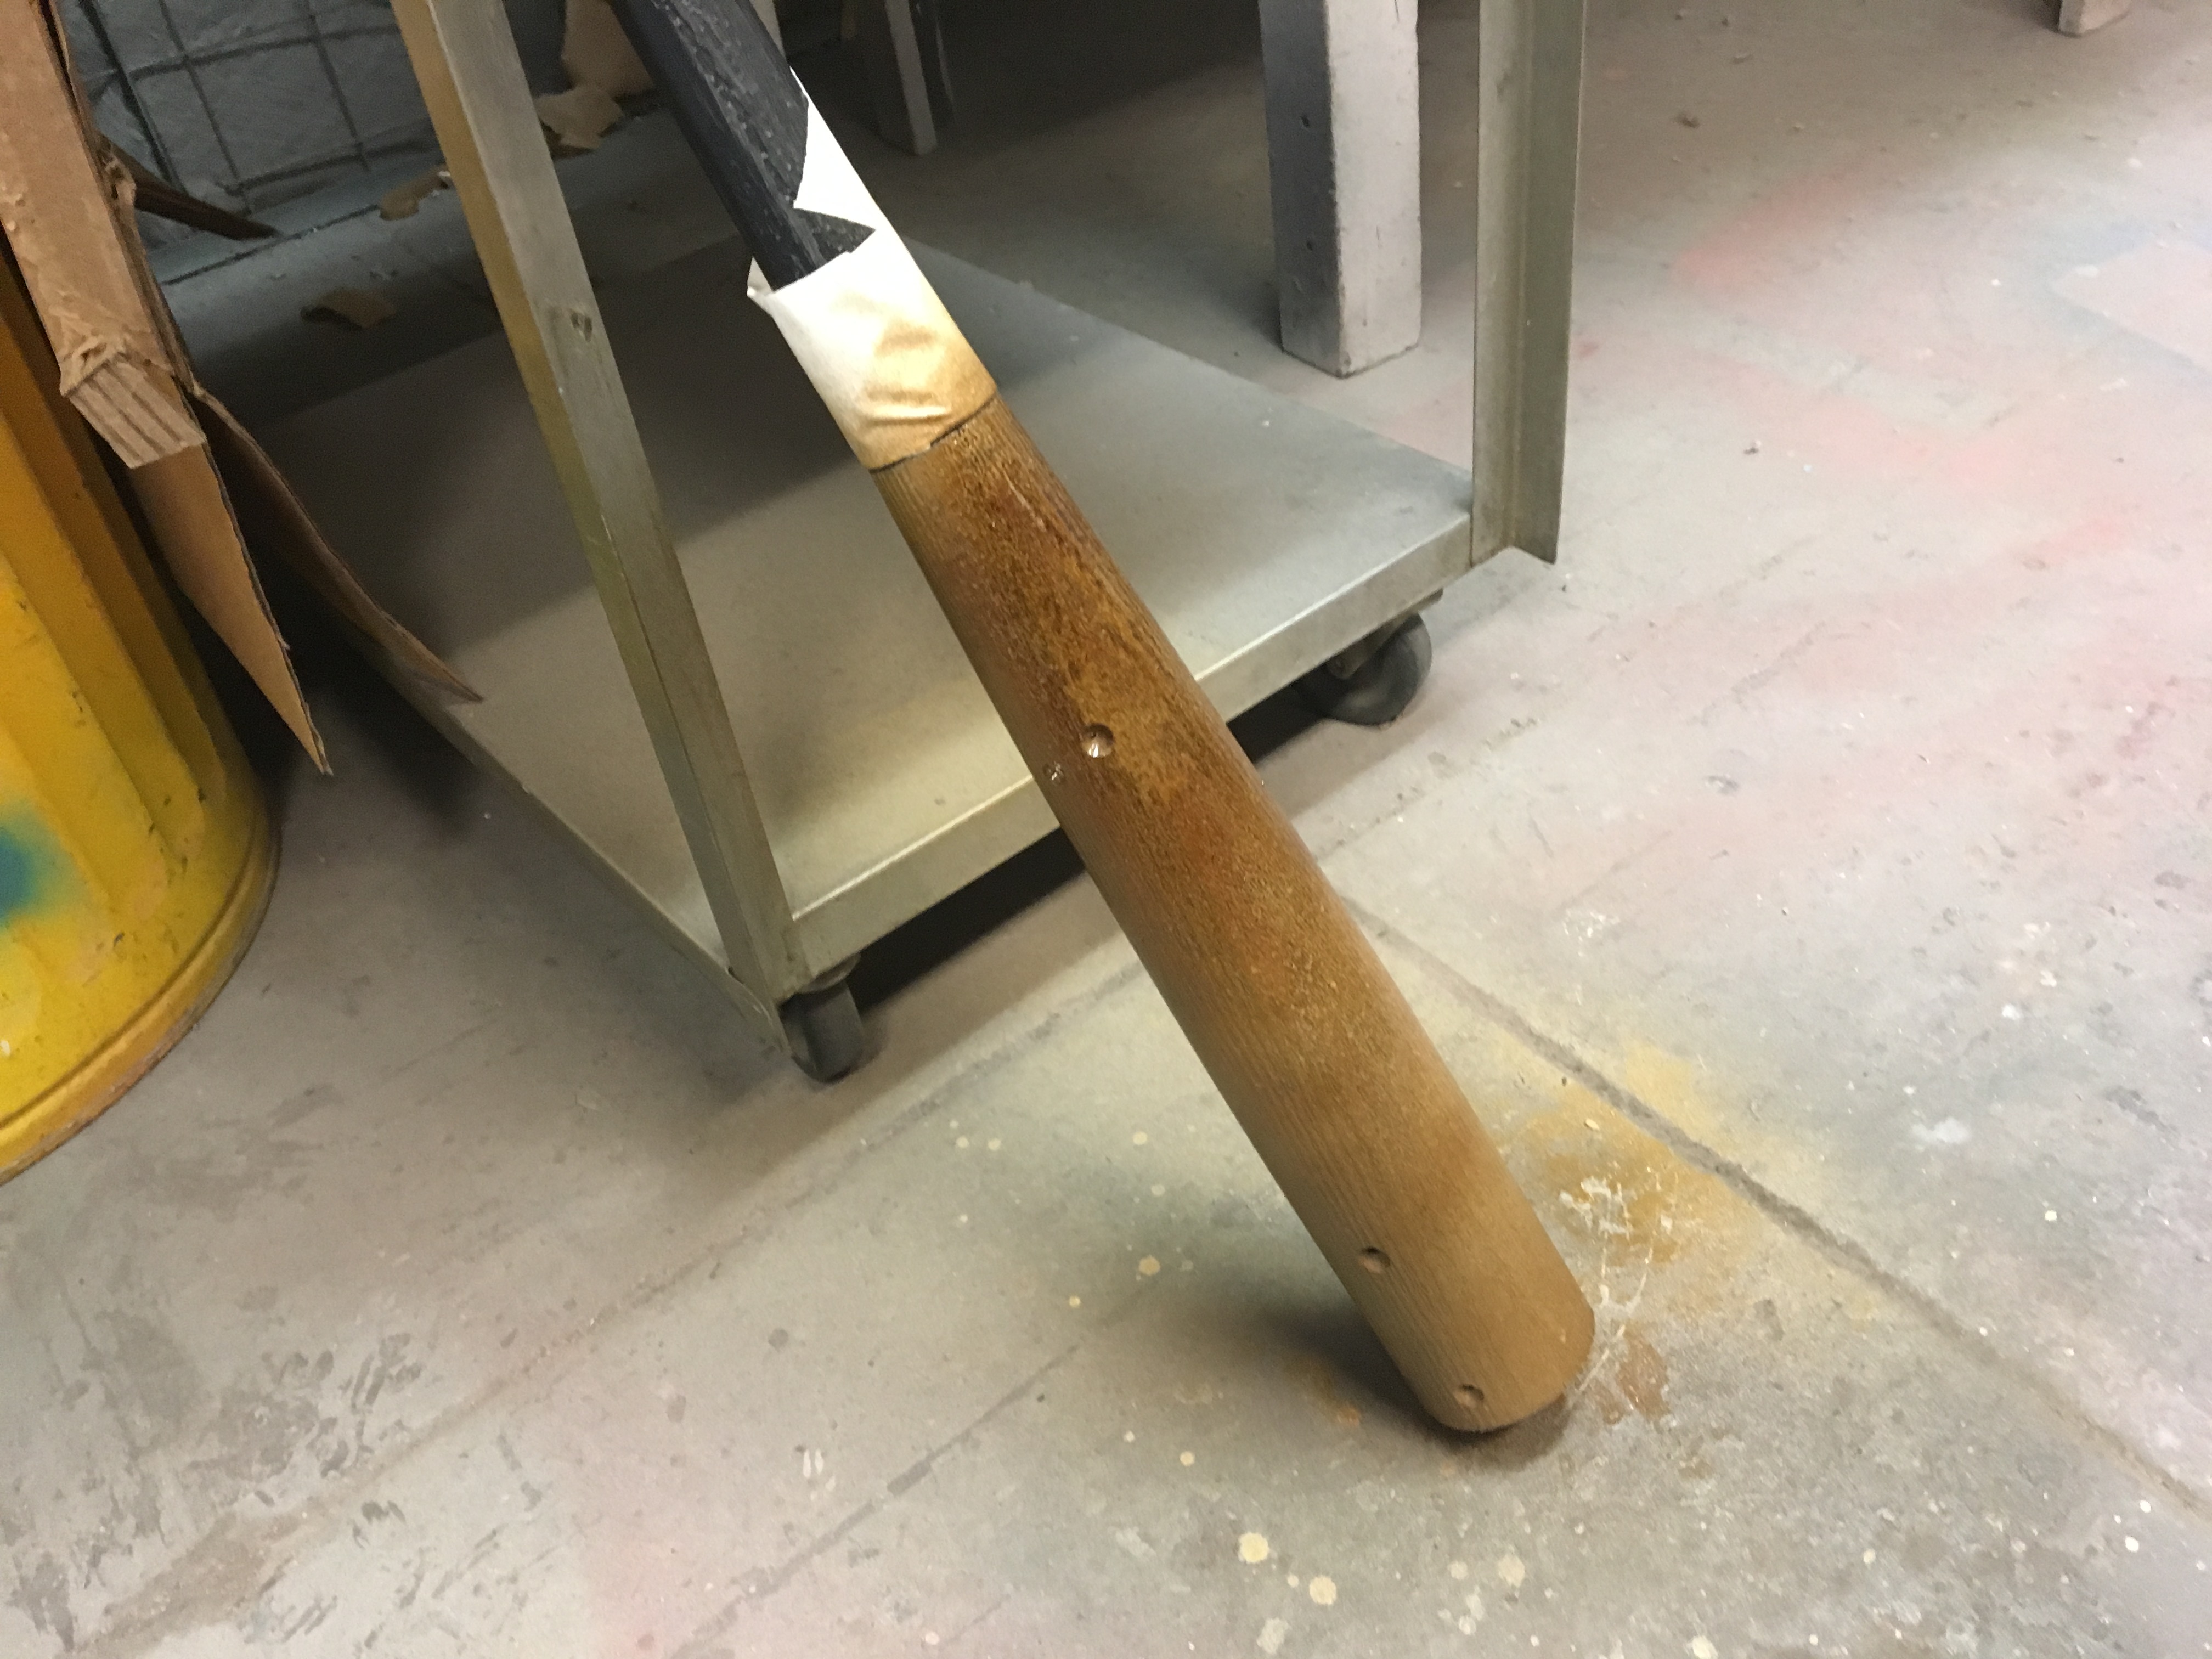
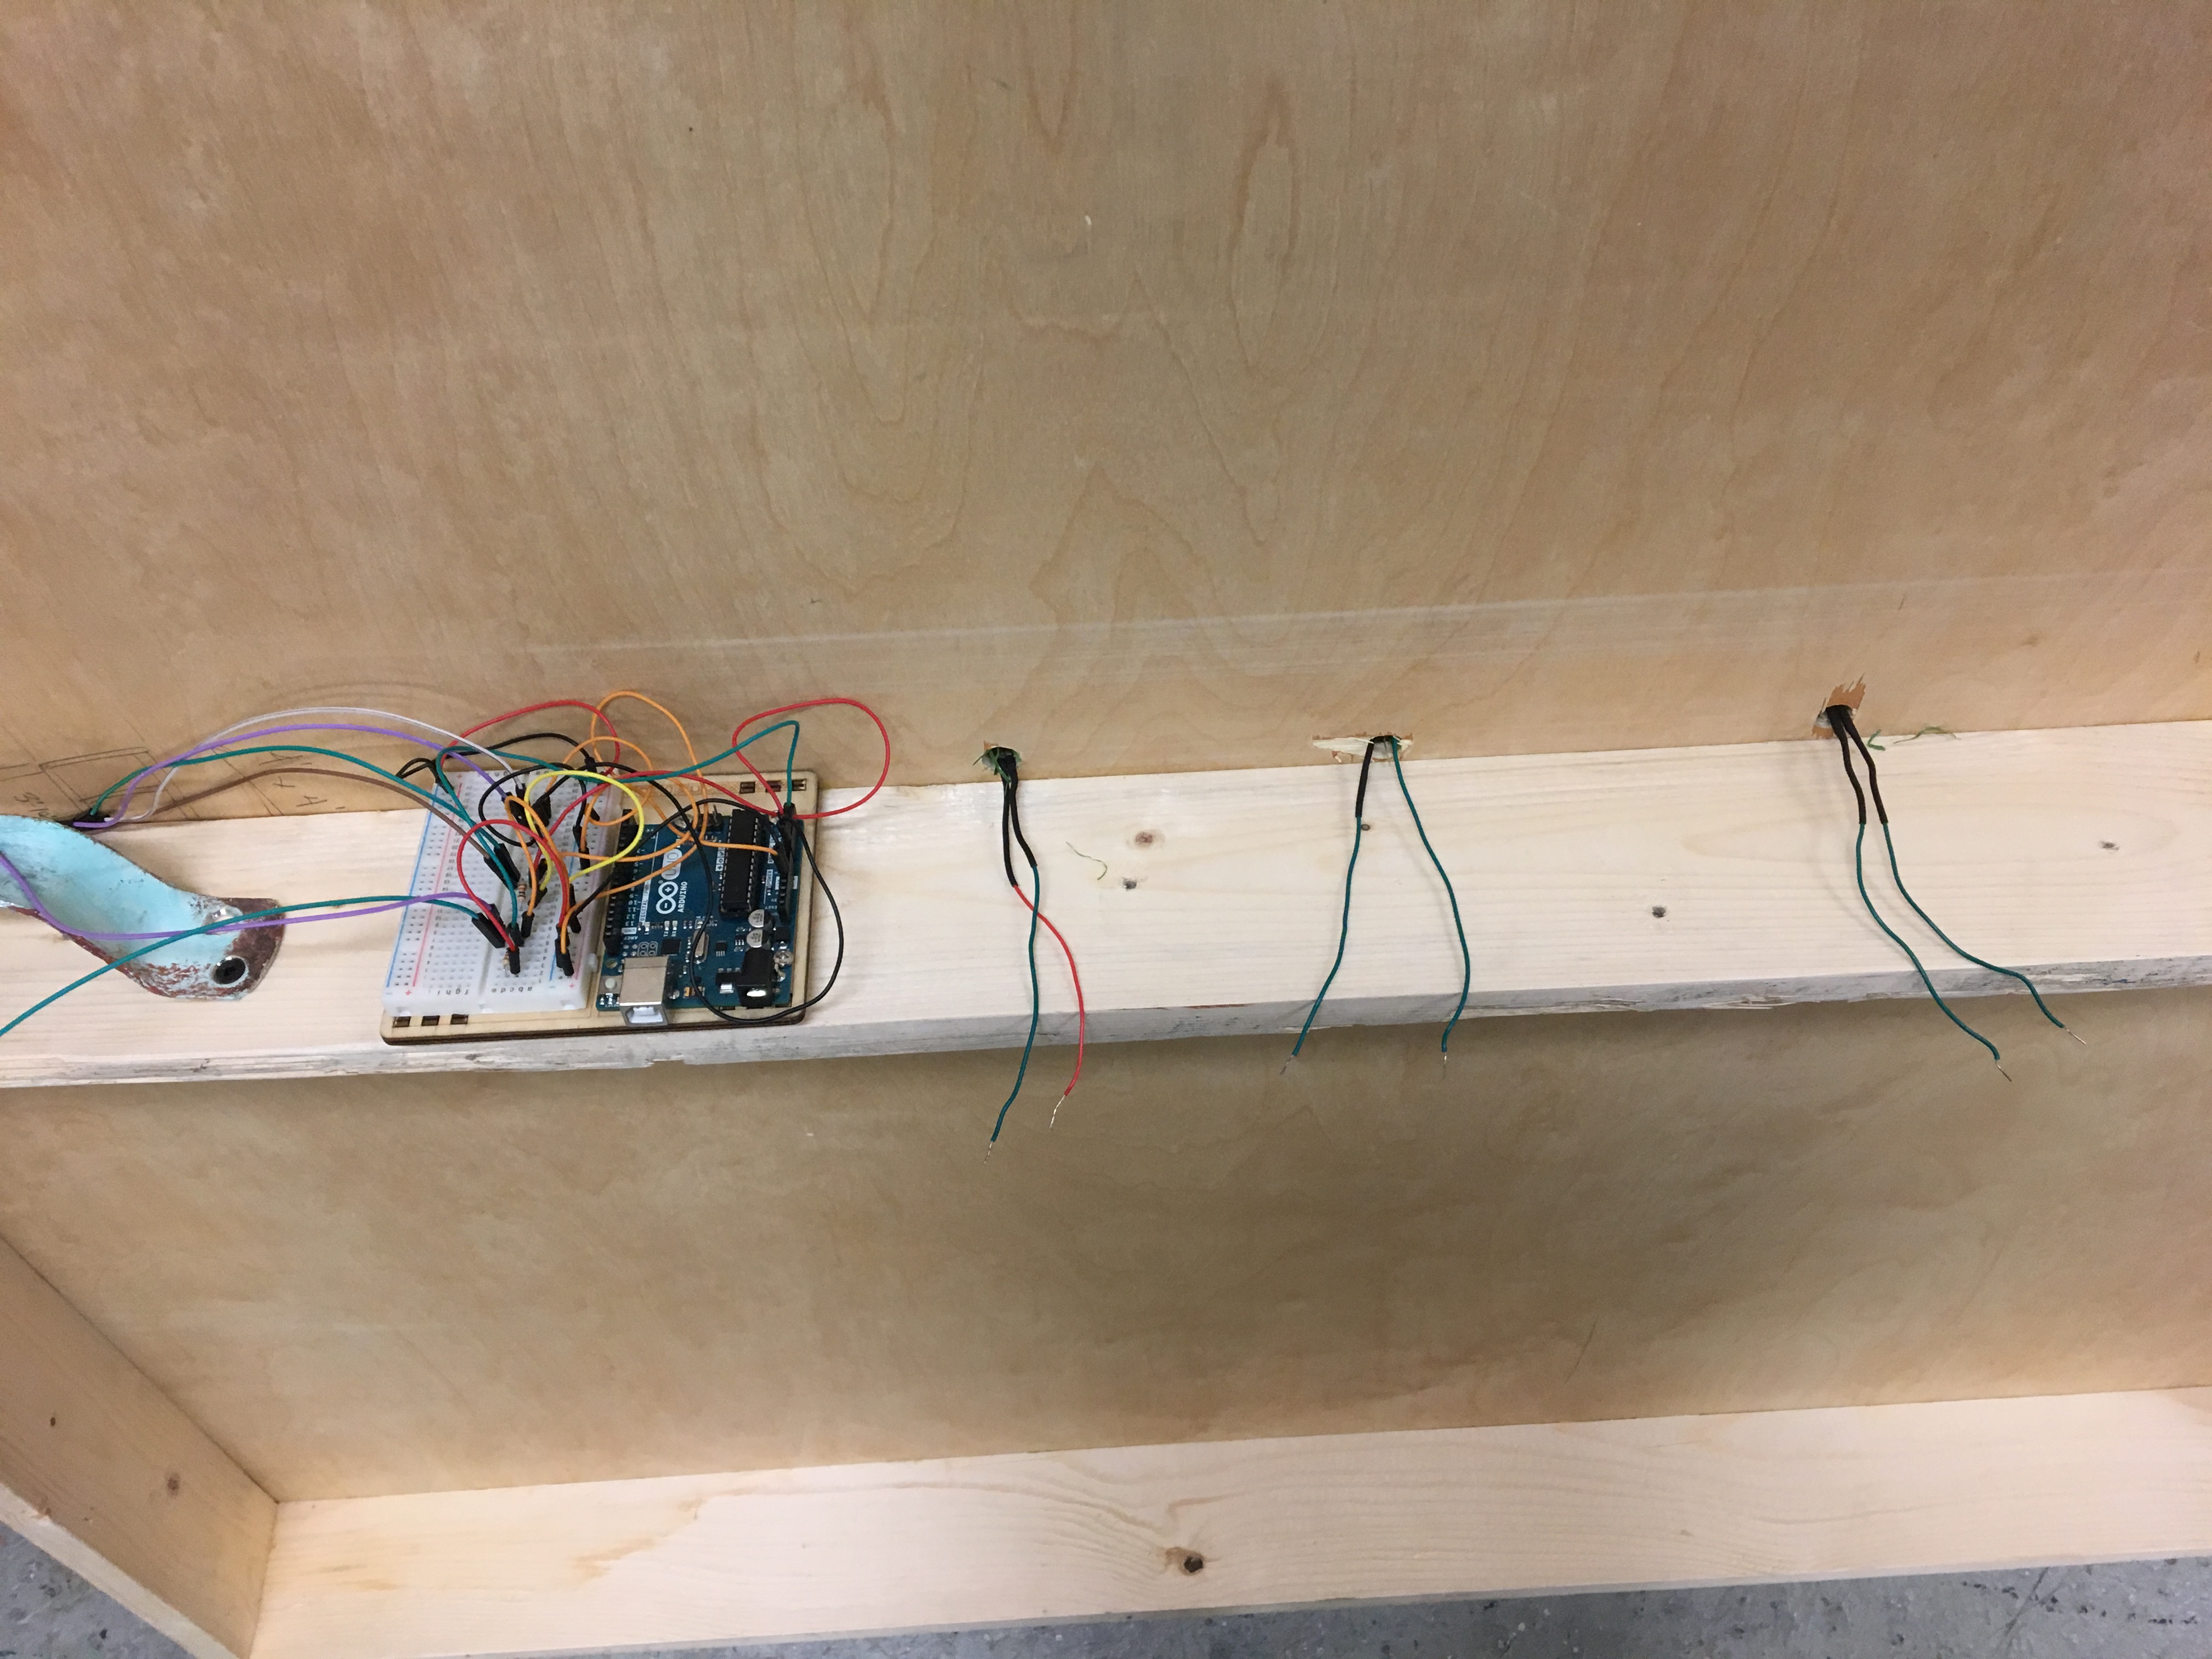
The final step in the process was the perf board. The arduino and Bluetooth that was hooked up to it were going to be moving around a LOT as they are in the main shaft of the bat. Not only do they need to be very stabilized to the bat but the connections need to be super stabilized as well. My first perf board was an utter failure. My second was a success but the header pins on the male to female wires kept breaking off. By my third perf board I became a soldering pro though and I feel like it looks and works pretty well.
 
            With everything done, Grant and I had a few hours to test out all the components together. While we were thrilled that they were working together, there is one area where there could be some improvement: the vibrating motor sensor. We just cannot get it to vibrate at the right time. It seems like there is too much happening even with all of the console logs removed. Perhaps it’s because there is too much in the preload but even when I removed the music files, there was still significant lag. At this point, I’m at a loss and I hope to pick your brain about how I can better correct this in the future.
 
            At the end of the day, this has been an amazing project to work on. It’s so bizarre to look back on that first sketch I did about baseball and think about how far I’ve come. There are so many people that deserve acknowledgement: Joe Mango, Shawn Van Every, Tom Igoe, Dan O’Sullivan and Dan Shiffman, Kat Sullivan, Jingwen Zhu, Justin Peake, Or Fleischer, and I’m sure there are more. Of course, none of this would have happened if not for the dedication and commitment of my partners Grant Henry and Katie Takacs.
 
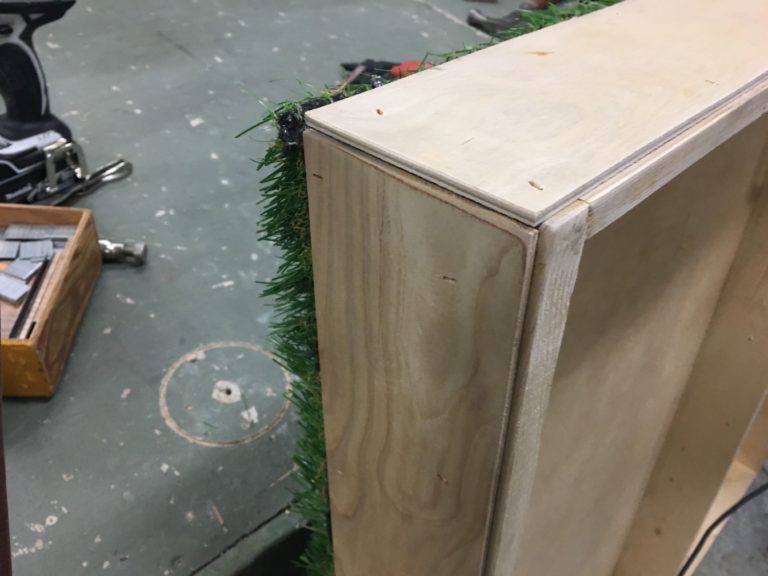
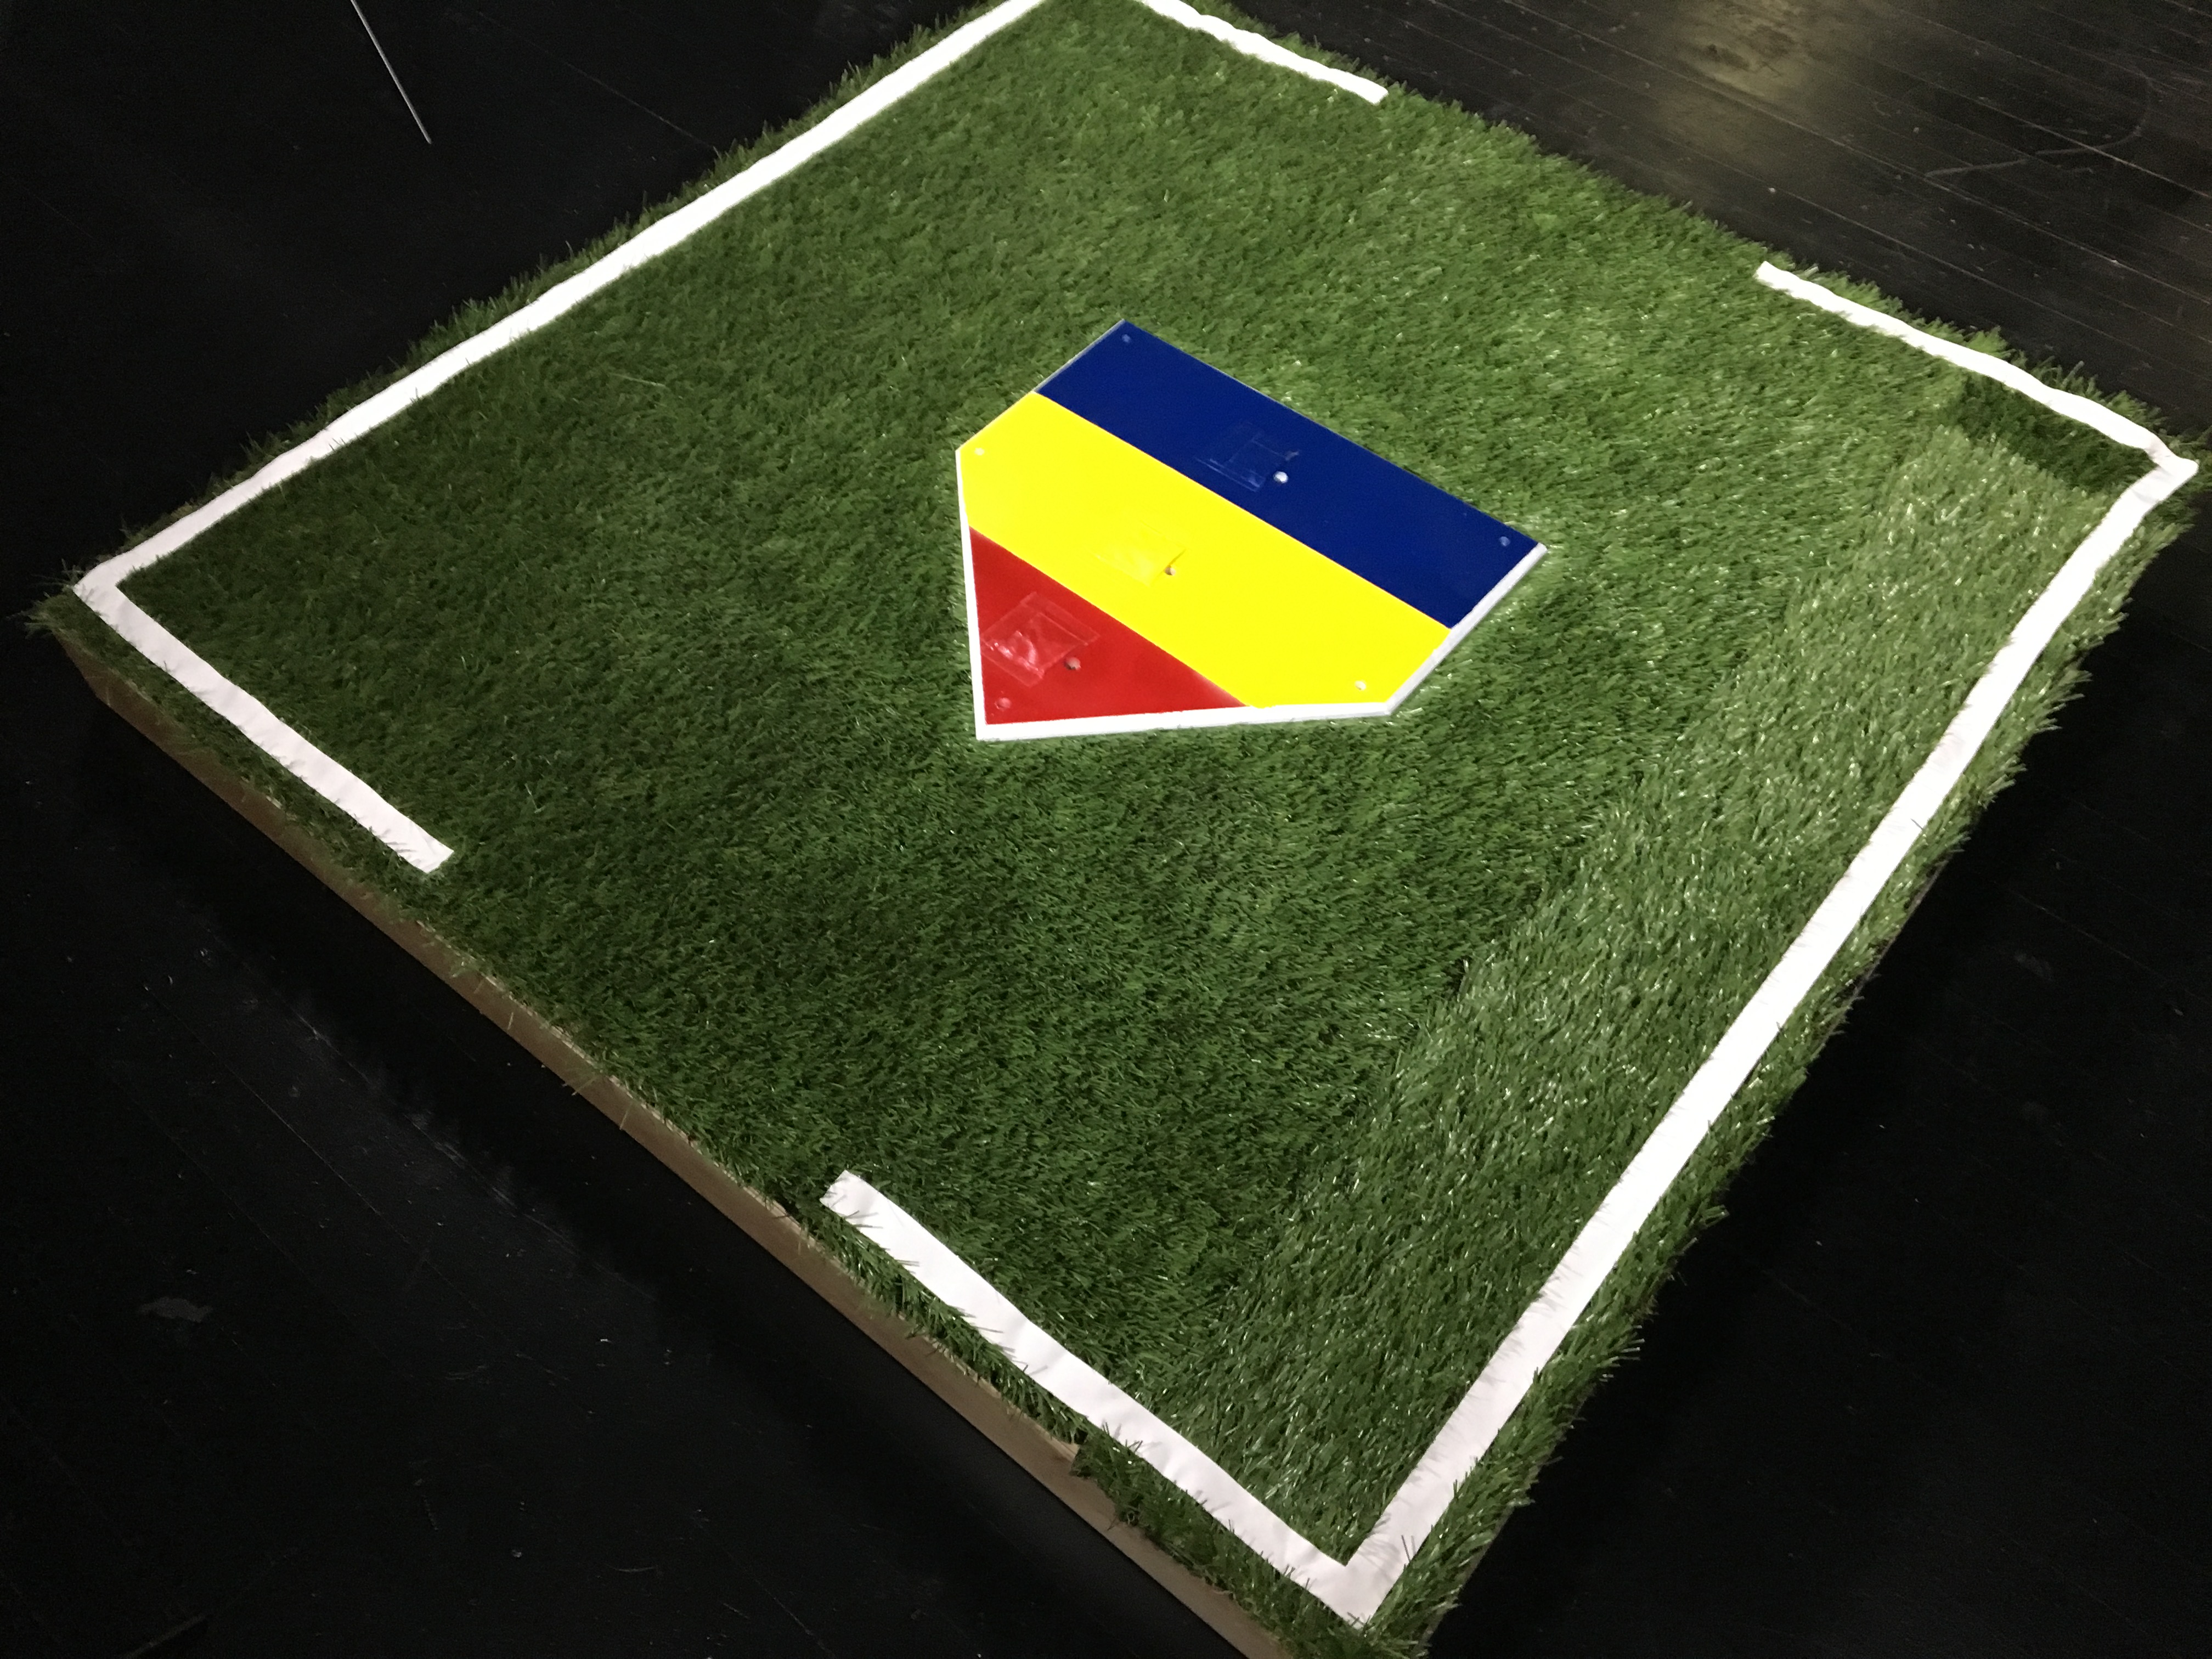
I was sitting in Maryland over Thanksgiving. Grant and Katie had decided to get together the weekend after to work on fabrication while I took a few extra days and focused on the coding side of things. At one point, I got a text from them. It was a photo of that grass batters box. I couldn’t believe it; I had a grin from ear to ear. It was so noticeable my dad asked me what was up. I turned my phone to him and showed him the photo. I was just blown away by how awesome it was. “Man,” he said, “this is some group you got, huh?” It sure was.

Leave a Reply

Your email address will not be published. Required fields are marked *