I wasn’t too happy after my flashlight. I was pleased with the amount of work that I put into it but as I sat in class listening to people share I felt ashamed. I was going to share my first real failure at ITP but I just felt too downtrodden to do it, too ready to move past it and learn from it. So in order to learn I had this crazy notion that I needed to go harder this week, do something more, something bigger and more creative. Originally I wanted to do shelves but then I thought a customizable pedal board would be cool.
When I did the flashlight, I learned the rule: “Be prepared for the unexpected”. My second project I learned that “be prepared for the unexpected” isn’t a rule, it’s a universal truth.
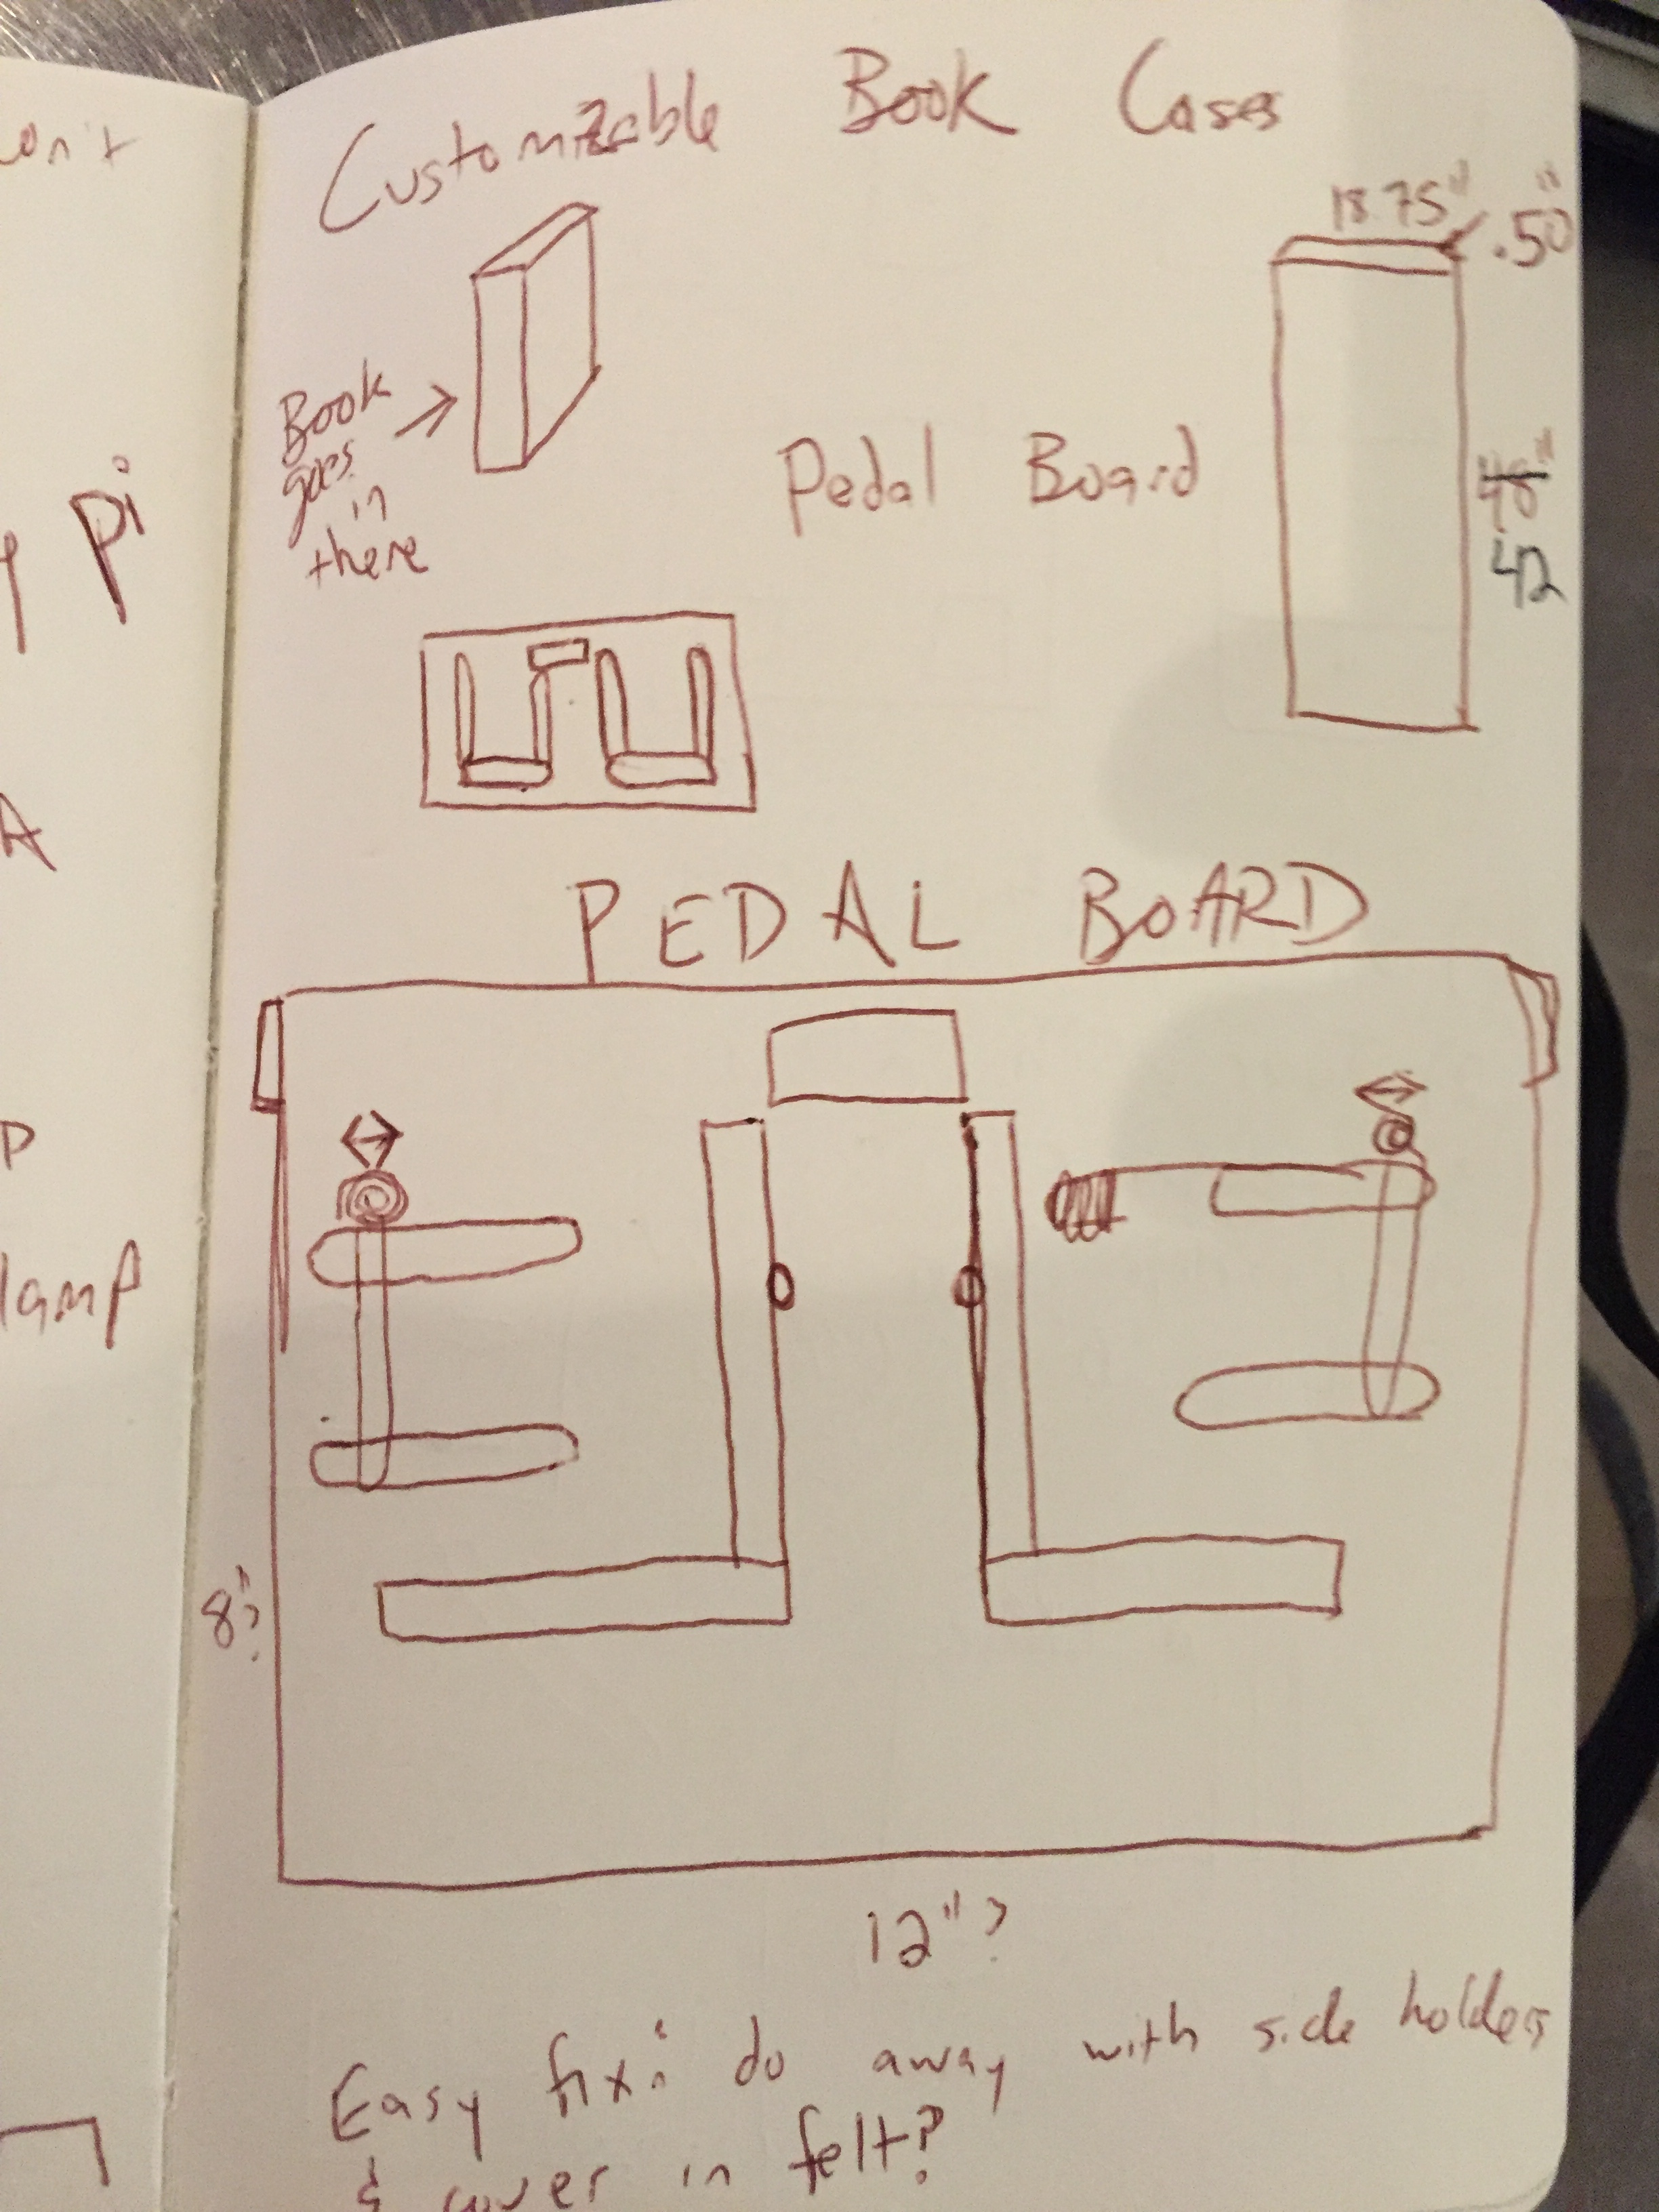
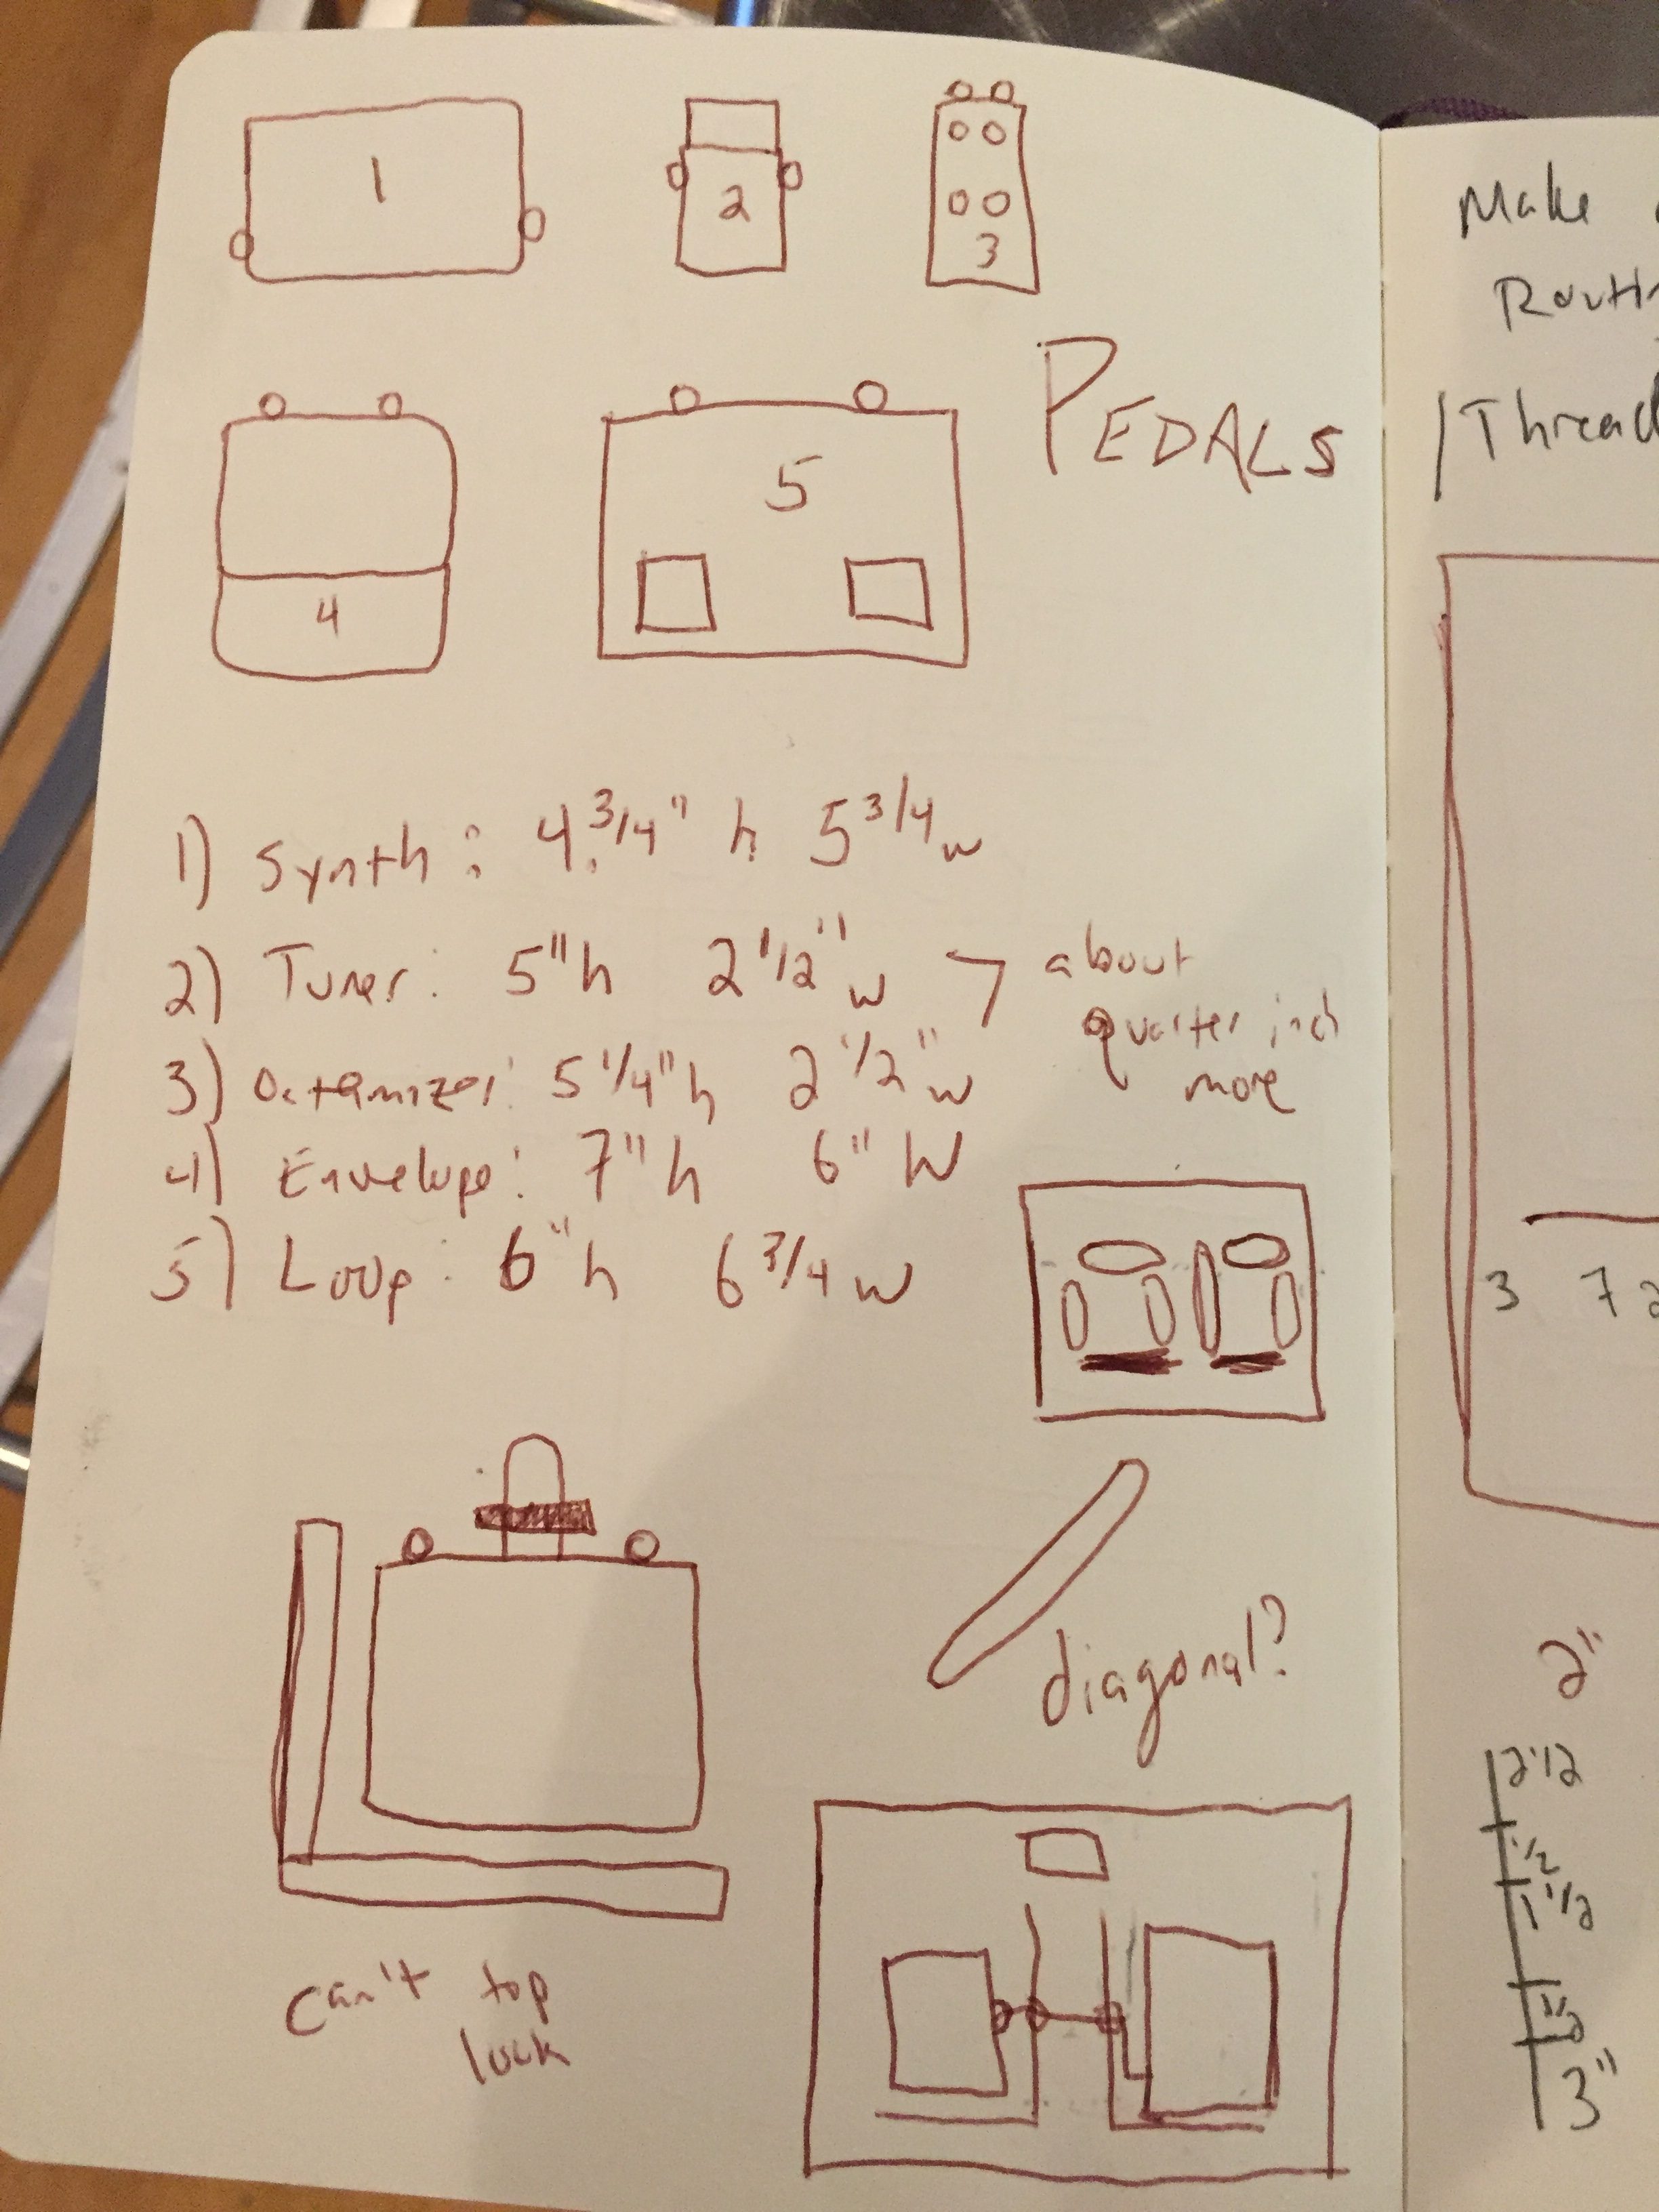
I got a head start immediately after class. I sketched a pedal board in my notebook and after a conversation with you, Ben, thought it would be cool to add a customizable feature. I figured I could use the router to make four ½” holes in the board and put nuts and a bolt in them to allow adjustability for the pedals. I went home that night and measured the five pedals I had to see how many inches my “holders” would need to be.
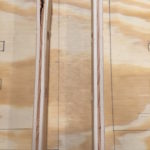
I was excited to get started so I looked around for some unused plywood. I luckily found a discarded piece of 24×14 1” ply and used it to draw my first prototype
Then I took the wood and put it in the panel saw. I did this after measuring because I wanted to double check that after I put everything down in the prototype, all my pedals would fit. In hindsight I should’ve done more accurate measuring from the get-go but I got lucky in that the size ended up being close to right.
Once my measurements were more finalized, I went to Home Depot to pick up more wood. Unfortunately however, Home Depot was blocked off because of the explosion in Chelsea, so I headed to Lowe’s. It turned out they only had ½” ply which wasn’t ideal. I really wanted something a bit more firm because pedal boards can take a beating but because I didn’t know how long before Home Depot would re-open, I decided to buy 5 pieces of ply.
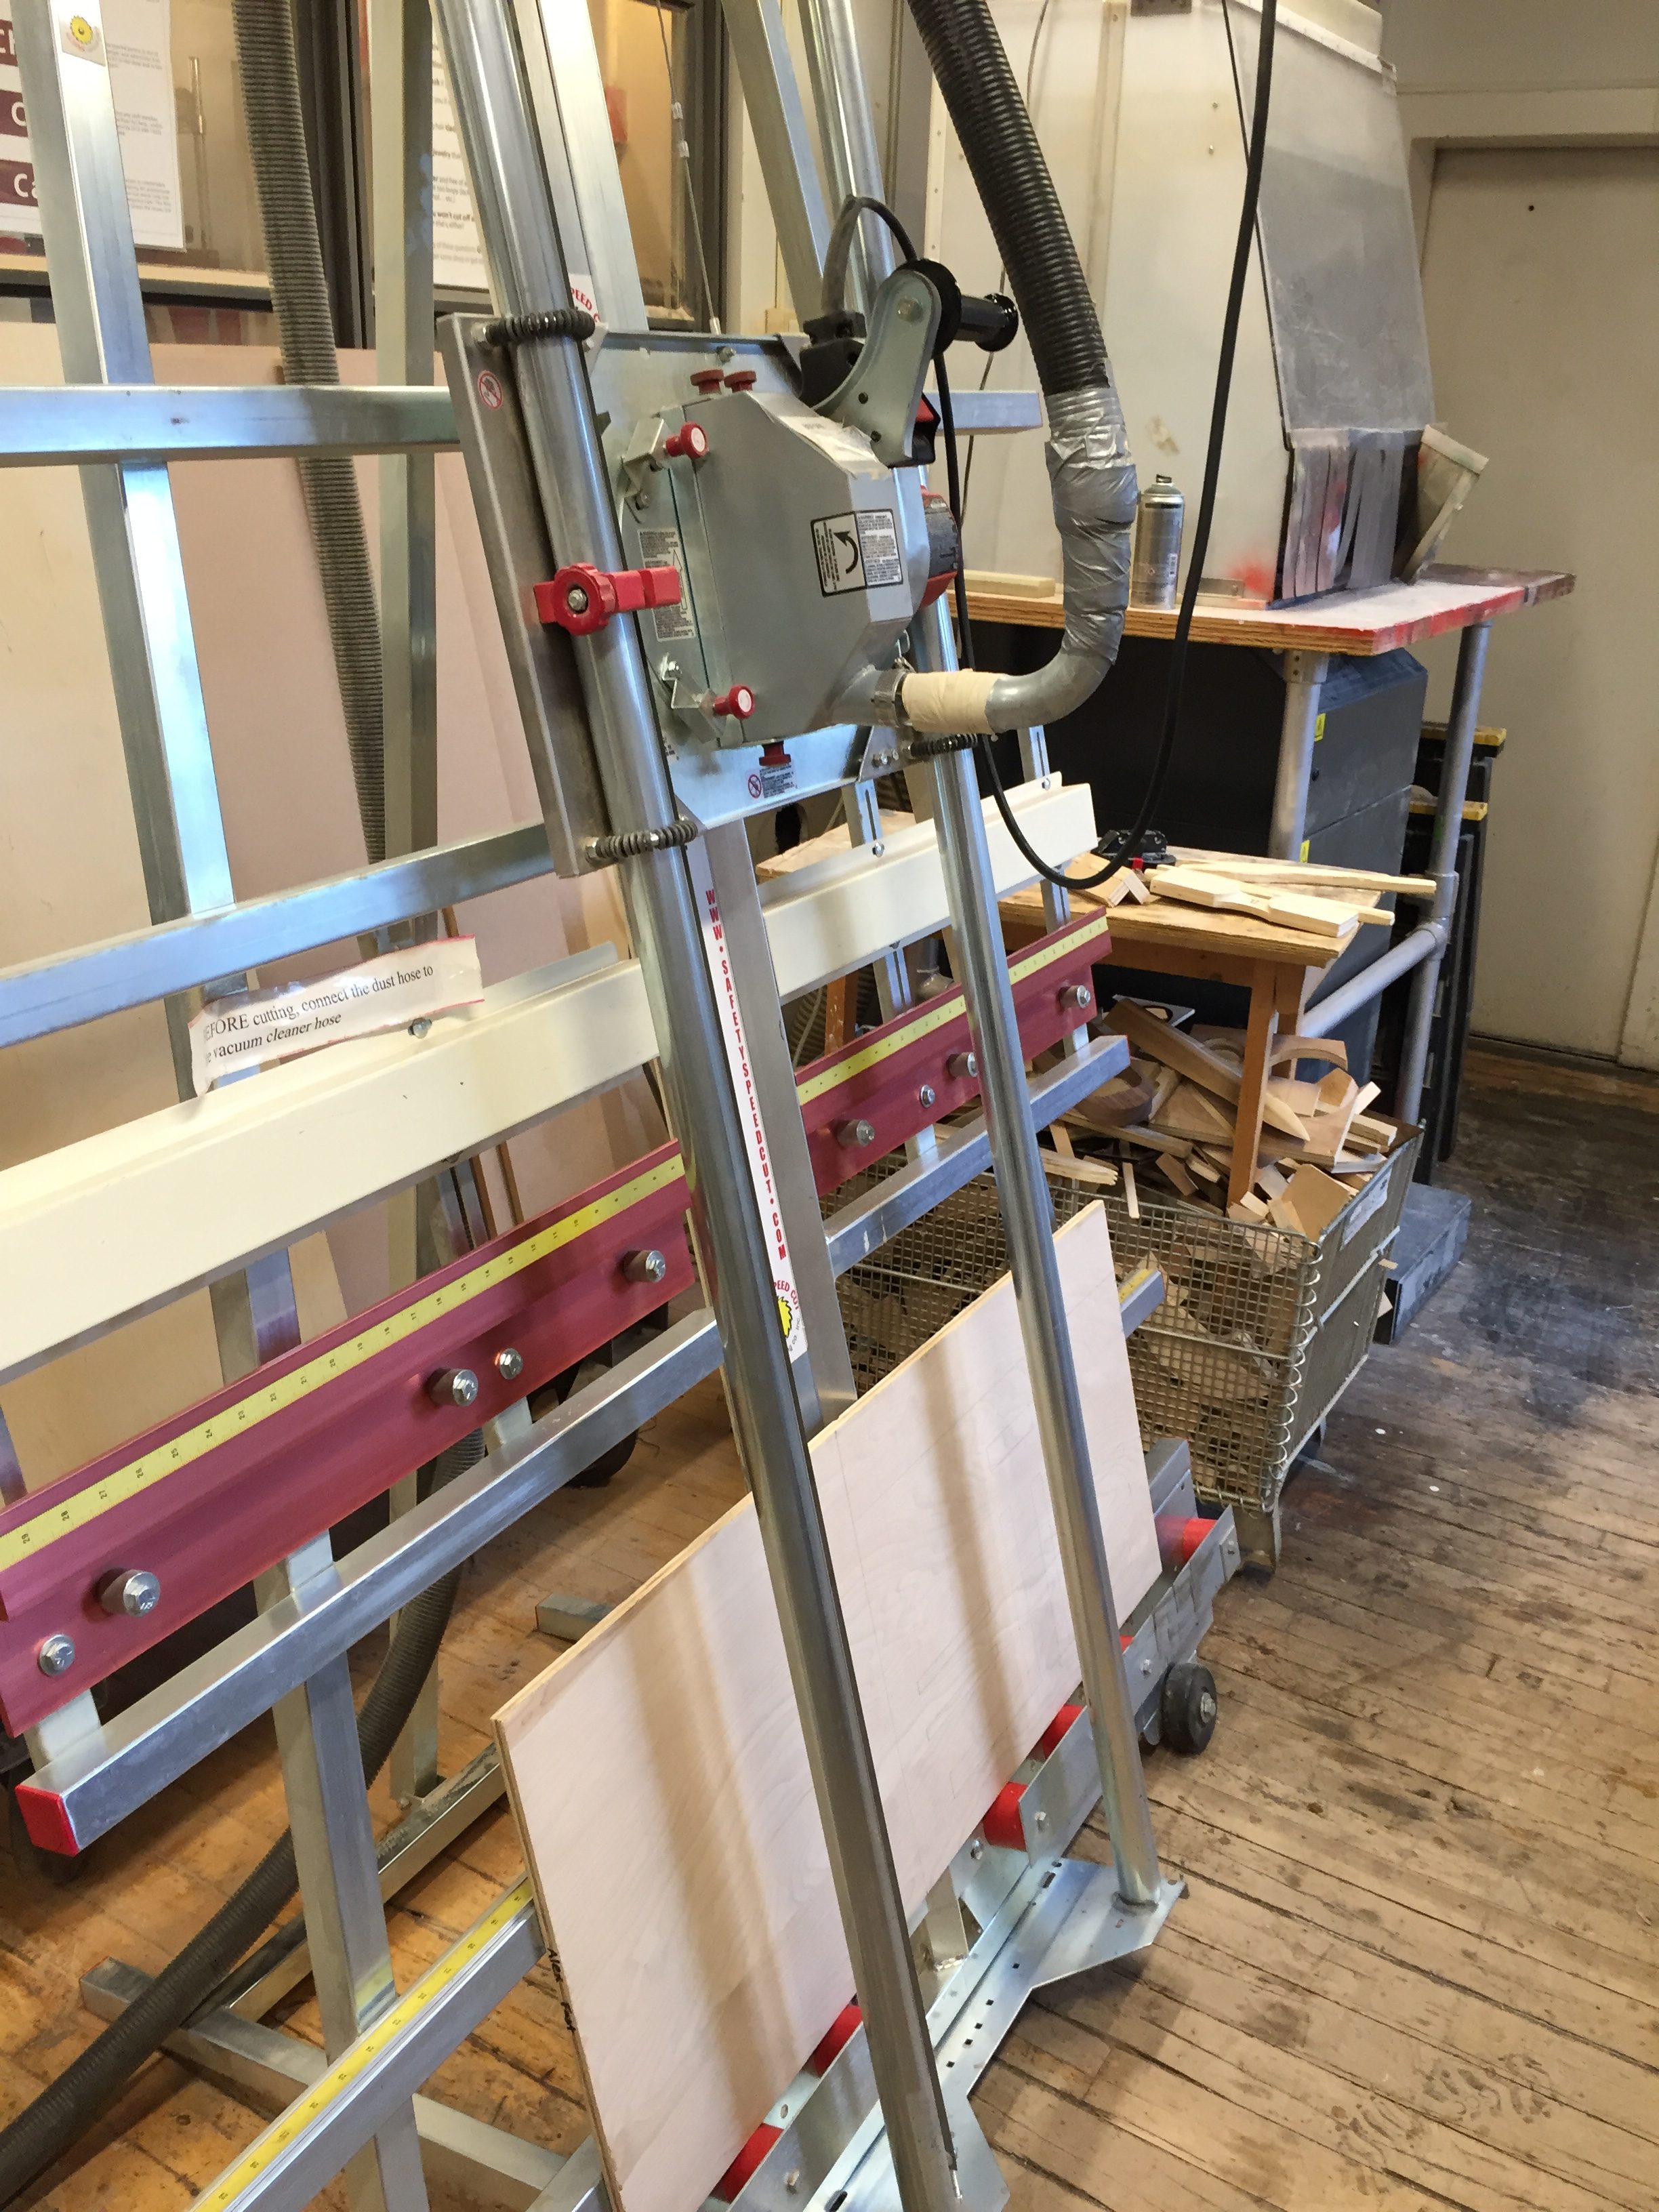
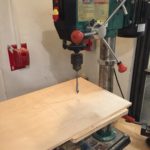
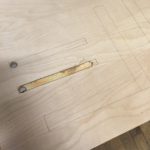
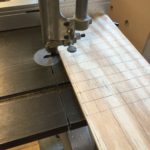
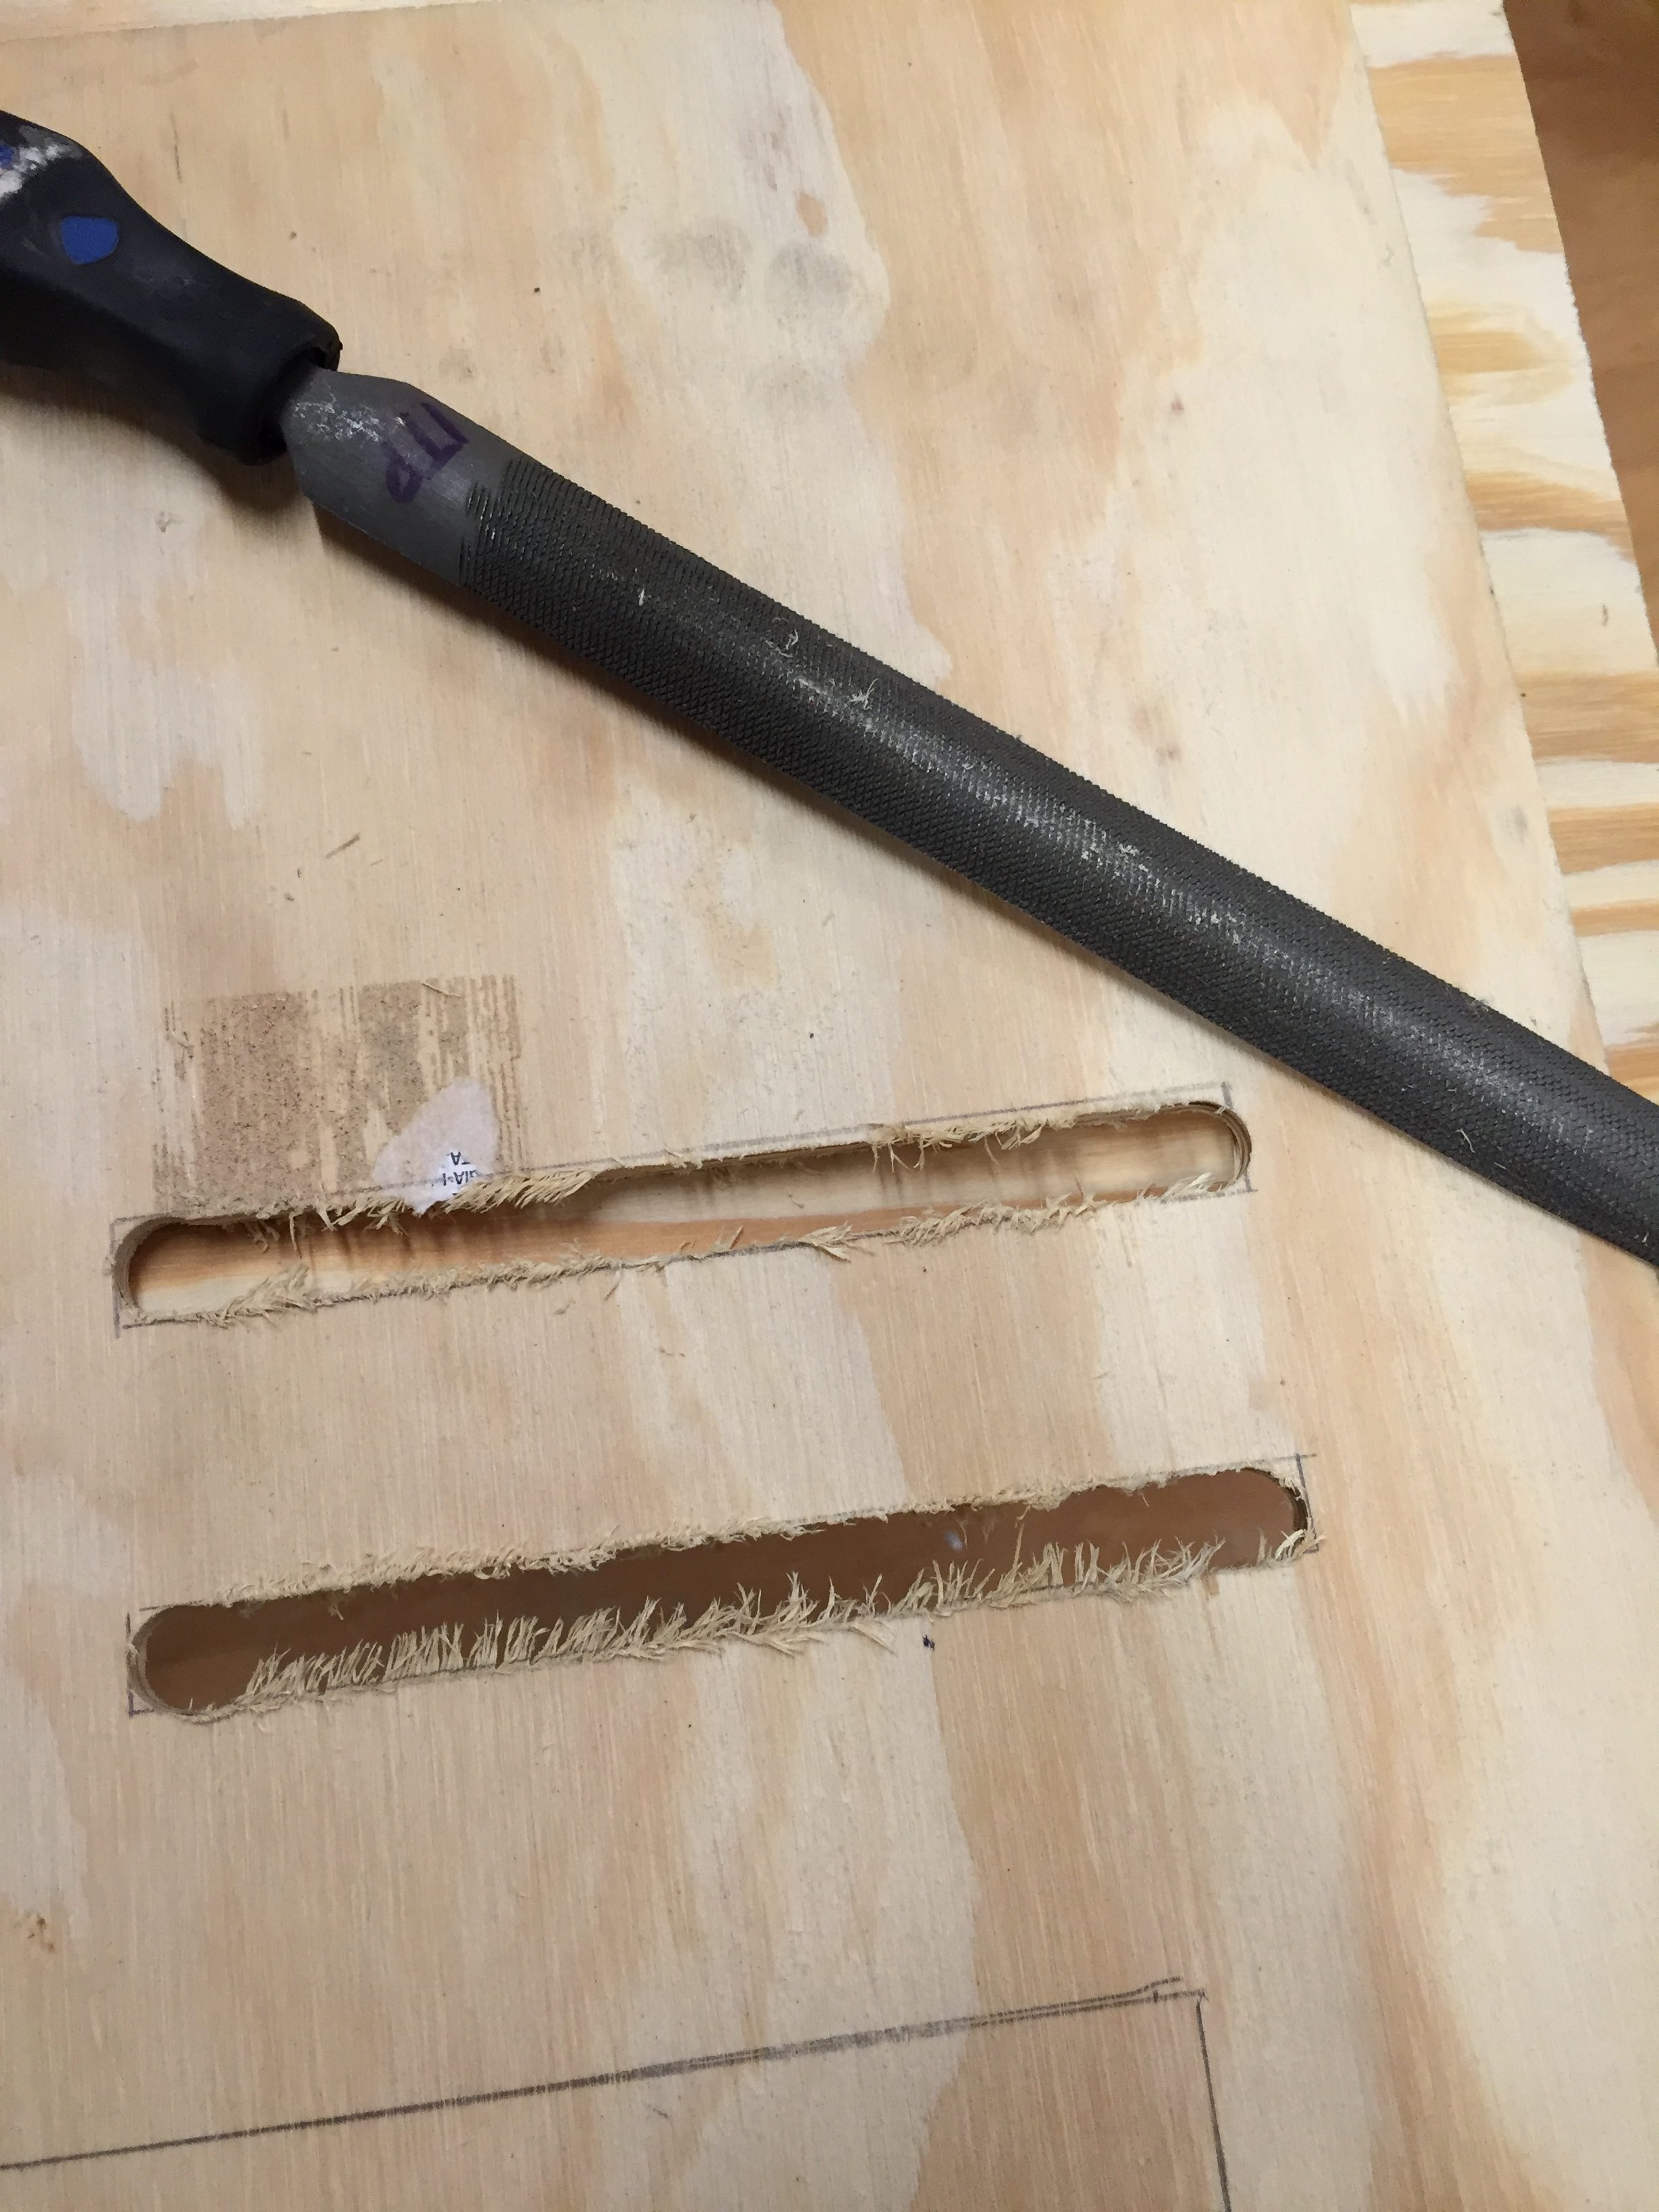
Knowing that I would need to use the router in order to make the holes for the customizable part, I signed up for office hours. After a great lesson – thanks again, Ben – I got started. First, I used my measurements in my diagram to trace where I need to route. Then I used the drill press to put holes in those measurements. This was to ensure that when I was routing, I would know where to start. After drilling those holes, I went over to the router and began routing my life away. I gave each hole a good four or fives passes with the router and I used a C clamp and a block as a customized stopper so I would know when I need to stop routing. I was so preoccupied with getting this right however that I only got a photo of the final product.
I am text block. Click edit button to change this text. Lorem ipsum dolor sit amet, consectetur adipiscing elit. Ut elit tellus, luctus nec ullamcorper mattis, pulvinar dapibus leo.
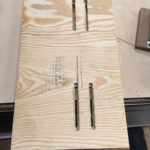
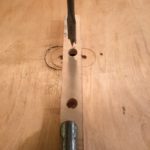
With the main holes routed, I had three more big steps: cut out the pieces of wood that would serve as sort of an L shaped or reverse L shaped stopper, drill holes in those pieces so that the wires from the pedal would have a place to go and drill holes in the top of the board so any excess wires could be run through the back.
After that is where I ran in to some very frustrating trouble. I thought I could just screw the thin panels that I’d cut into the wood. I bought some ¾’ inch screws and tried to screw the bottom of the L into the wood to no avail. I took a deep breath, tried again. No luck. I tried the vertical part of the L: it stripped the wood. Frustrated truly beyond belief, I asked you for help and you suggest I glue the smaller piece of panel – very wise and try using pilot holes for the vertical pieces of the wood.
I tried doing that and had a lot more success.
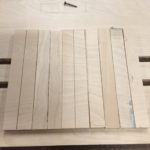
I had one more step now before spray painting: filing off excess wood.
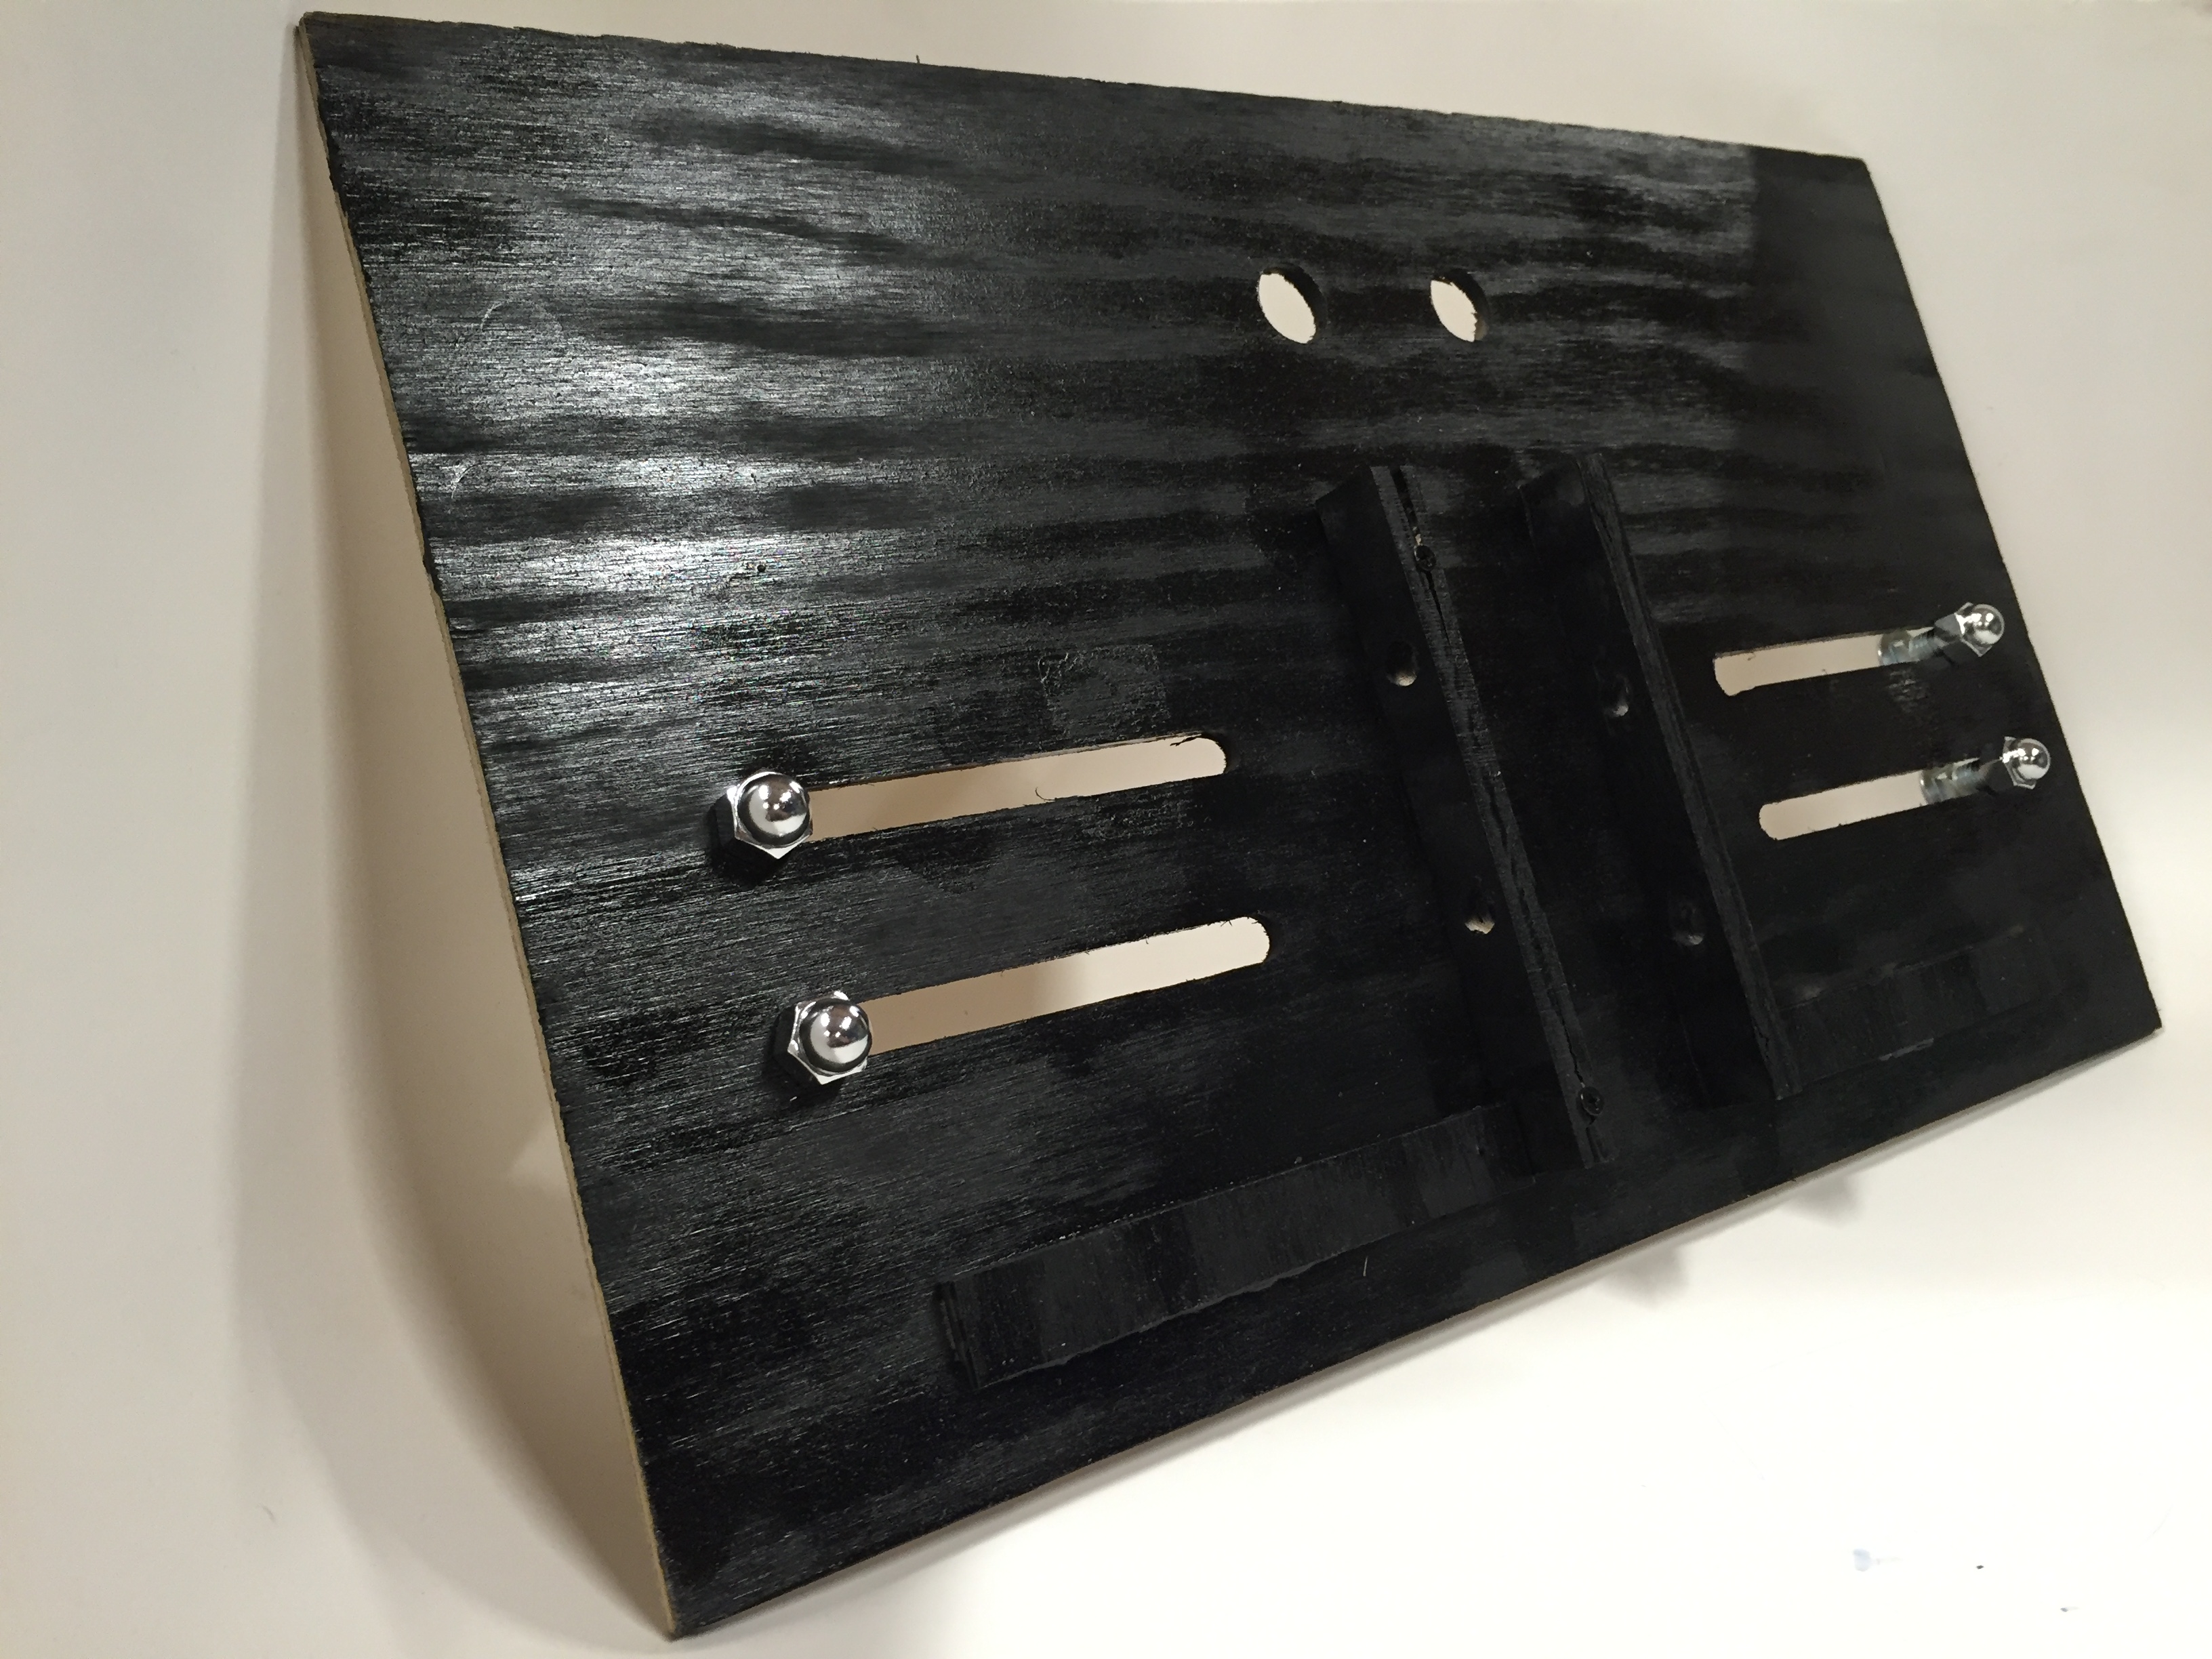
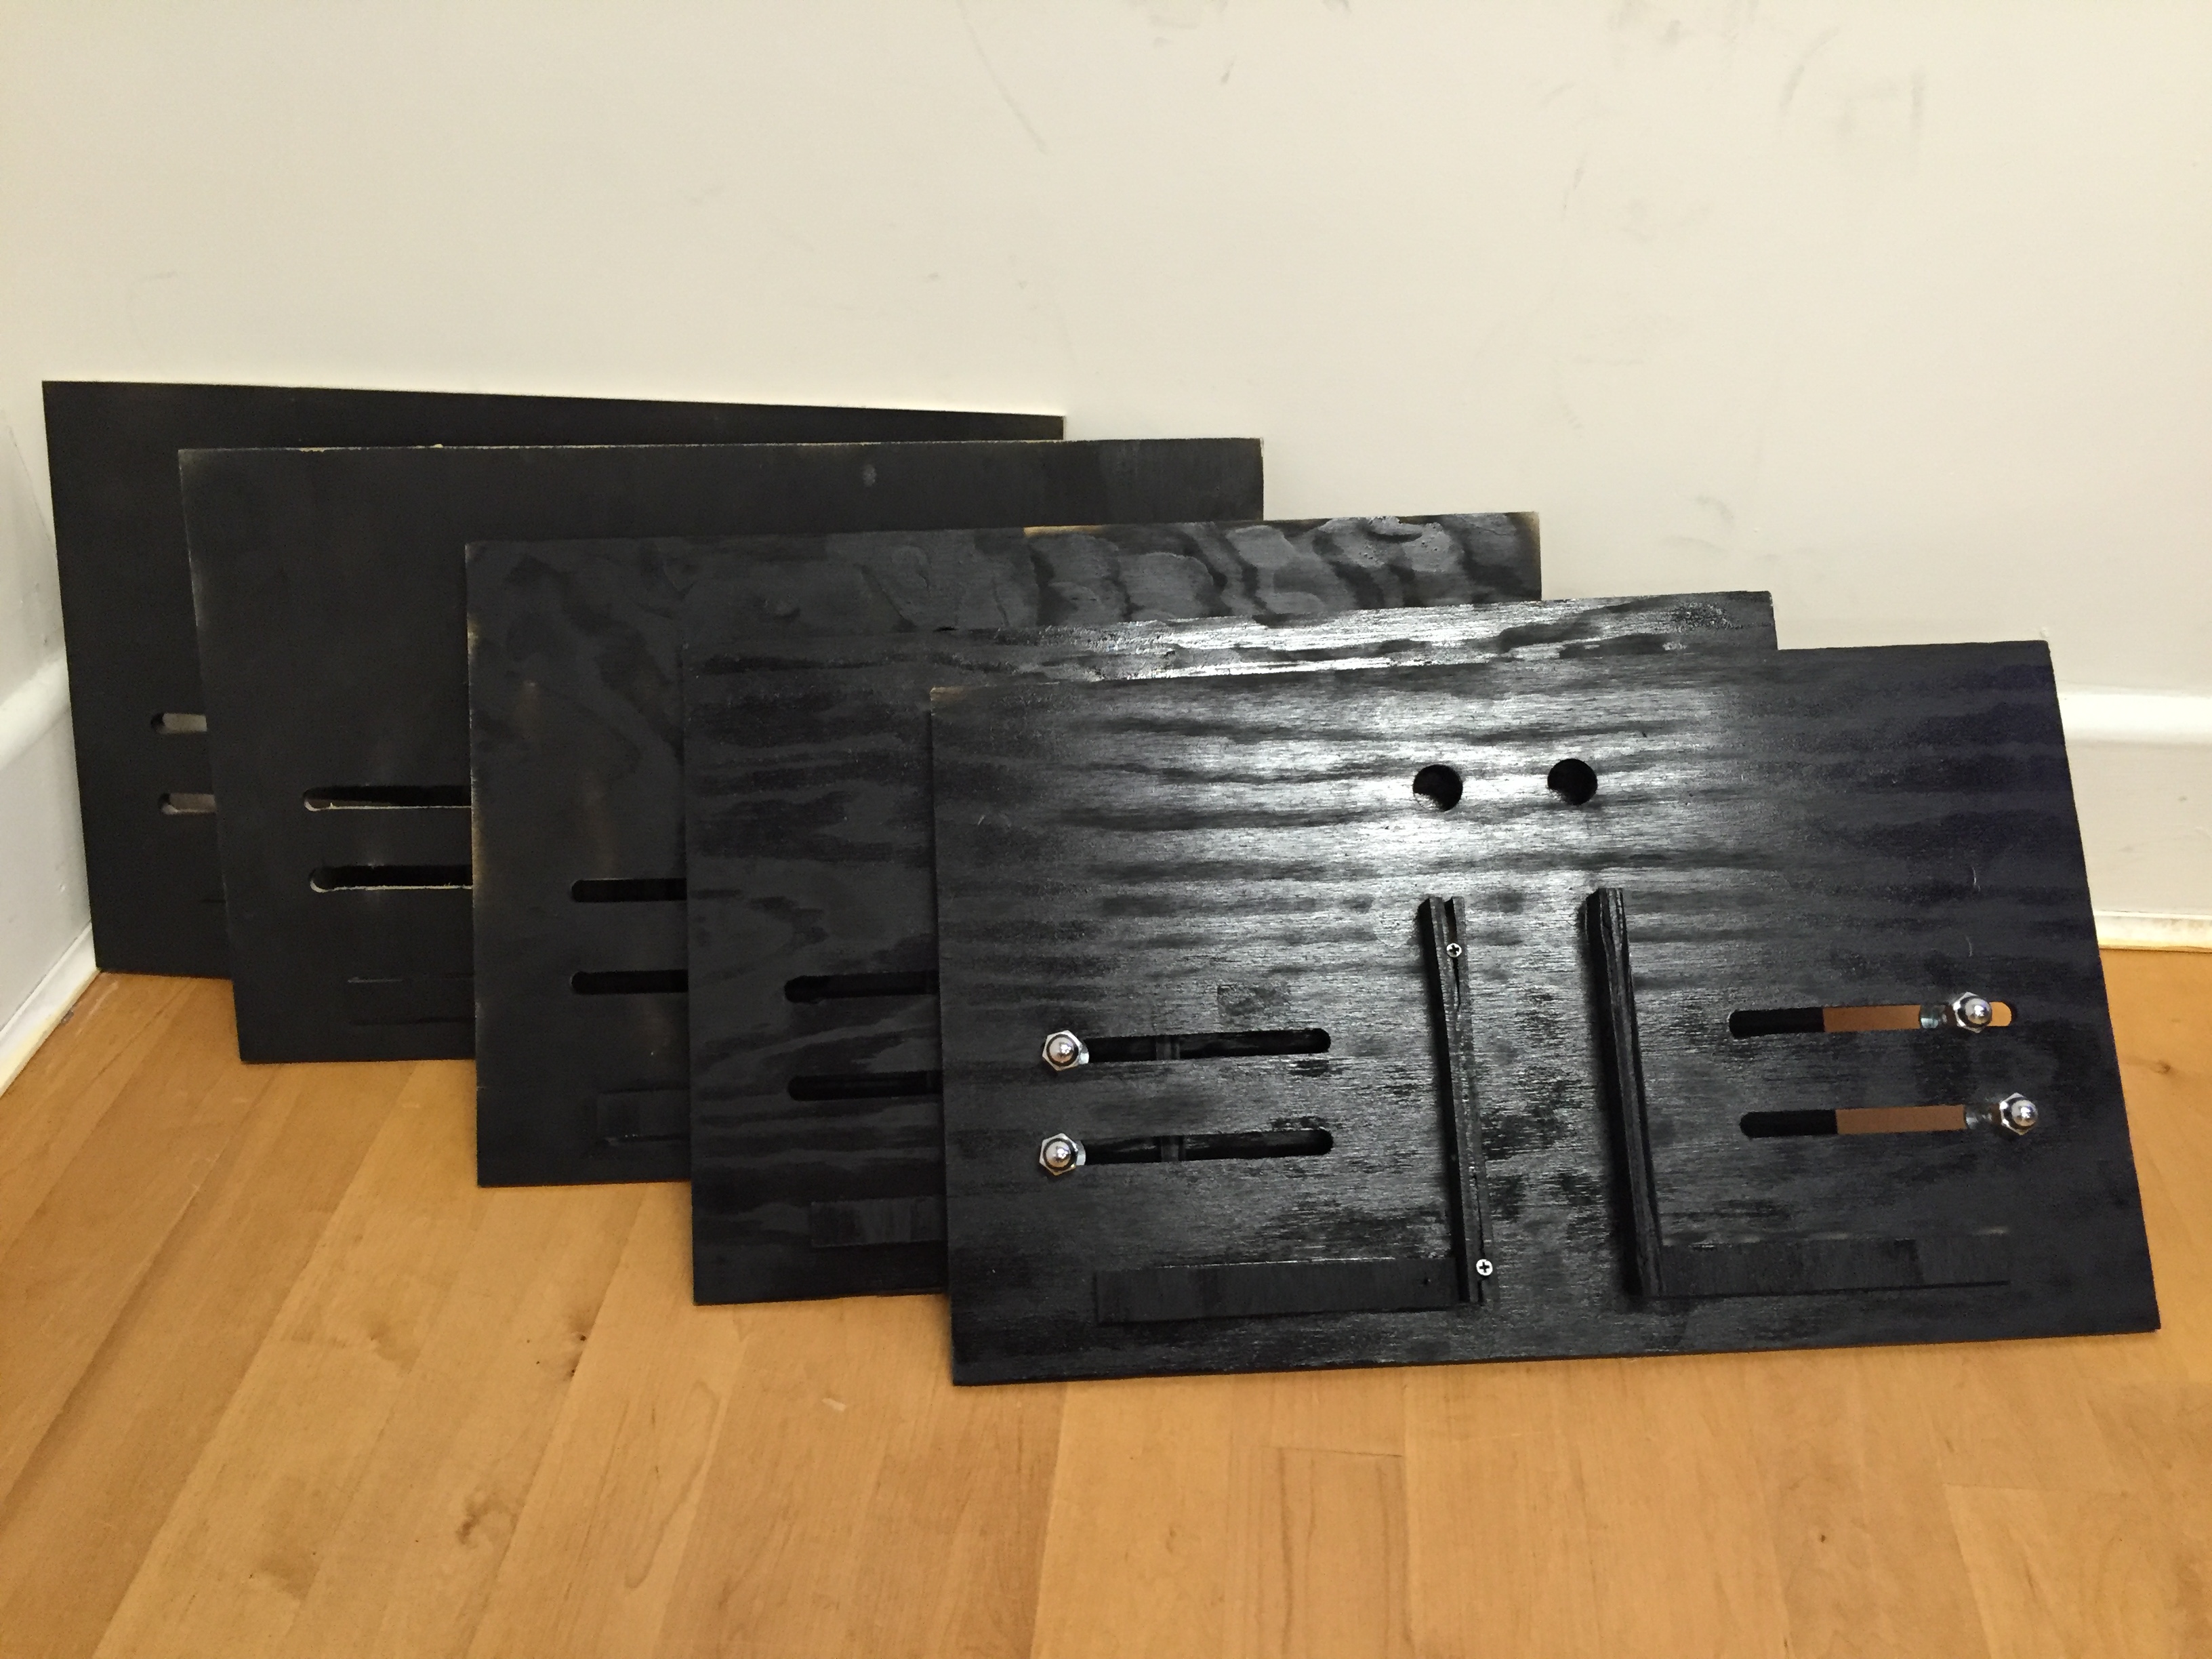
Now that I had clean wood, I applied the finishing touches and finally had a final product.
This exercise was another great lesson for me. I bit off a bit more than I could chew which probably wasn’t the best idea but I ended up getting very comfortable using the router, the band saw, the drill press, spray paint and more. I walked around Home Depot (I ended up going back on Tuesday to get spray paint and some bolts) like I actually knew what I was talking about and that felt good. I learned that things will very unexpectedly go wrong and that’s cool, we have a week. With that said, make your project manageable and if it’s a bit too big for your britches spend a LOT of time early on. Even more so than I did. Eager to apply these lessons to the next project.